Member-only story
10 Rules of Thumb in UI Design
A list of reliable rules to follow for designers

When in doubt, here’s a list of standard practices to follow in UI design.
None of these are set in stone — simply a list of methods that I believe can help you in your day to day UI design work.
Remember, design is all about thinking outside the box, and sometimes that means breaking the rules — so take this advice with a grain of gourmet Himalayan sea salt.
1. Design for density, not pixels

If you’re unfamiliar, density is the number of pixels per one inch of a screen or PPI. The unit “dp” is short for “density-independent pixel,” also sometimes abbreviated as “dip.”
When designing an interface, it’s recommended that we don’t design for pixels, but rather for the pixel density of the device. This ensures that our elements are scaled properly to fit different device sizes.

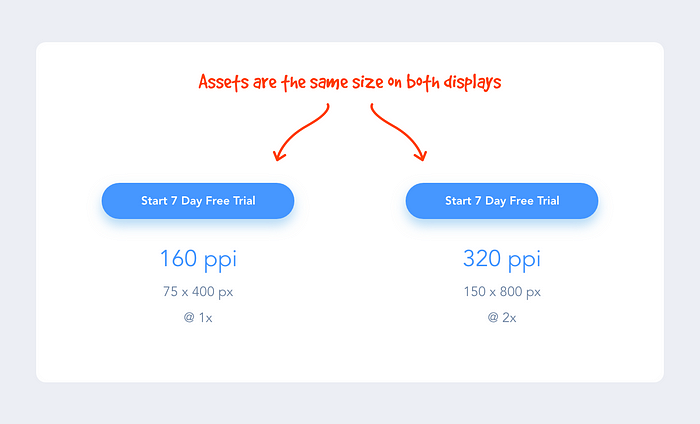
The reason we do this is so if we design a button asset, for example, at 200 x 50 dp, it’s displayed at 200 x 50 px on a 160ppi screen and 400 x 100 px on a 320 ppi screen, or 2x the size of the original asset.
Since some screens have more pixels per inch than others, the assets aren’t displayed smaller on screens with a high pixel density, they’re merely rendered at 2x, 3x, 4x their original size. This makes sure that all assets maintain their sizing across different devices with varying densities.
The dimensions for the iPhone XS Max’s screen, for example, is 414 x 896. But that’s not pixels, that’s the number of points. In pixels, it’s 1242 x 2688 px. With that in mind, when designing for the iPhone XS Max, I would design at 414 x 896 points and then deliver assets @ 3x.


