4 myths busted about high-fidelity prototyping

As a designer, it’s our job to envision how people experience our products. The best way to do that is to simulate the proposed interaction and put the designs on the hands of our users and see them interacting and engaging with them.
This is where I’d like to talk about the world of hi-fi prototyping from my perspective as a designer, busting some key misconceptions and sharing what I’ve learnt.
Myth 1. “I need to be a developer to prototype”
… Or do you? I feel we tend to lean on things that are easier and shy away from things that are harder. It’s important that we don’t constrain our creativity subconsciously based on how easy or hard something is to do.
My tool of choice when it comes to prototyping is Framer X. When it first came out, I gave it a good run. With my old, rusty compSci knowledge, I’m able to whip something out but the process wasn’t elegant. It lacked documentation, it was buggy and it was a lot more complicated than I had hoped. I had to learn a lot about React and write many lines of code to achieve something simple.
But fast forward to today. Framer has released a set of customizable interactive patterns like scroll, page and link that designers can use out of the box. It has proven to be a great entry point for me.
Along with their new APIs and the recent React Hooks release, it has made prototyping in Framer X significantly easier. It allows beginners to explore unique interactions with less boundaries and it requires zero setup.

export function WhileTap(): Override {
    return {
        whileTap: {
            rotate: 90,
            scale: 0.75
        }
    }
}
export function Animate(): Override {
    return {
        animate: { rotate: 360 },
        transition: { duration: 2 }
    }
}
Reality 1: As a designer, you need to learn the basics and know just enough React and Javascript to use the tool sufficiently. All the heavy lifting has been done for your through Framer APIs.
Reality 2: If you’re struggling, use this as an opportunity to chat with your developers. I personally have bugged all the “within one-meter-radius” devs that are around me and I know this cross pollination of thoughts has resulted in better empathy.
Myth 2. “Prototyping takes forever”
When we’re designing screens, it might be useful to create interactive workflows and preview your designs just like how users intend to use them. Sketch, Figma and InVision have great prototyping features that allows you to prototype a click through prototype at ease.
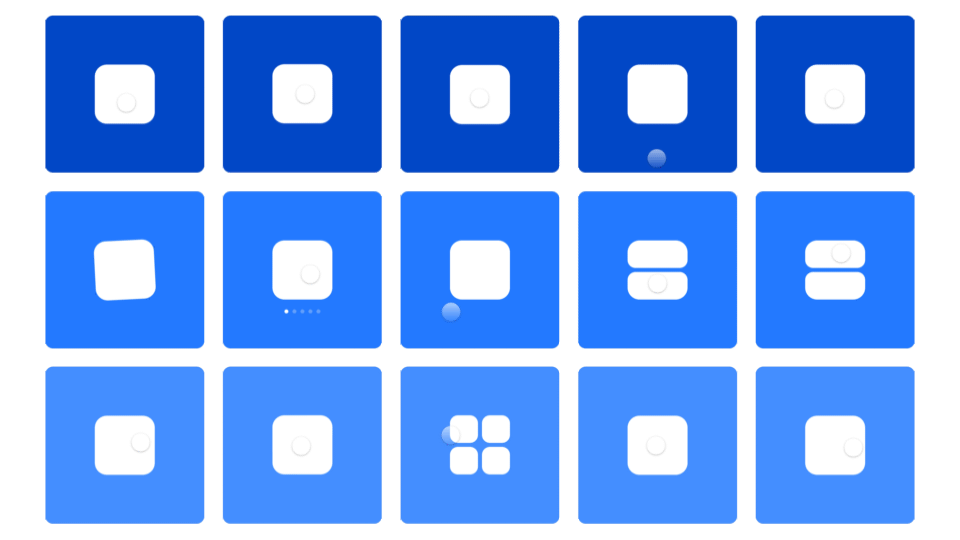
But if you want to satisfy your cravings for interaction design and explore more interactive ideas and still not writing a single line of code, Framer Store provides you with a bunch of packages you can download (contributed by the public) that you can use it to bootstrap your project.
Below is a dummy cooking app that I designed during one of the creative challenges. In order to present the idea more thoroughly, I “cheated” my way by downloading a bunch of packages and assembled them quickly together, directly on the canvas.


Reality: Design fast, iterate fast. It’s just a prototype and you shouldn’t be too precious about it. If there’s something that you think you need, very often it has probably been built already. Reuse as much as possible.
Myth 3. “I need to create everything from scratch”
We’ve seen how easy to just drag & drop components and bootstrap them into a prototype. Imagine now we can do the same with every single React-based production component that is polished, tested and built. Porting production ready code and start using them as design ingredients has been one of the biggest selling points for me. A single source of truth is no longer a distant dream!
I’ve created a proof of concept below (I’m into indoor plants 🌱right now) using Atlaskit that showcases how you can do just that. To make it more “real”, you’re also able to pass data and define logic from screen to screen.
Pass data

Define logic


Reality: Developers have spent tons of hours making high value/quality components to help improve your velocity to build features. With code blending in closer with design, production code isn’t just a developer’s territory but can be a designer’s playground too.
Myth 4. “Hi-fi prototyping means motion design”
The possibilities are limitless. Hi-fi prototyping isn’t just about fancy motion curves and gestural swipes. Once you learn to speak the language of a developer (not only will you know why they’re paid more), you’ll start to discover what is/isn’t possible. Understanding the boundaries and constraints actually made me more creative than starting from a blank canvas which sometimes can be intimidating. The only limit is your imagination!
Creative coding

Voice UI

Motion sensors
Reality: To be able to combine code with design gives you the extra ammo when it comes to creating hi-fi prototypes. When you intersect design, creativity and technology, it can lead you to momentary nirvana ✨
Getting started
Well, I do hope that helps shed some light and get your prototyping brain signals all fired up 🔥! If you’re keen to start prototype with Framer X, you could download → install it off framer.com. Below are some materials that I find useful.
React & Javascript 101
- https://paper.dropbox.com/doc/Th7joG9fFSSiyZgOFYqj6 (RECOMMENDED)
- https://www.framer.com/blog/posts/react-for-web-designers/
- https://www.framer.com/blog/posts/react-hooks/
- https://developers.facebook.com/videos/2019/intro-to-react-hooks/
Learn Framer
- Course: https://designcode.io/framer-playground-ui-interactions (RECOMMENDED)
- Tutorial: Create a slider
- Tutorial: Create a tab bar
Documentation
- APIs: https://framer.com/api (RECOMMENDED)
- General overview: https://www.framer.com/docs
Community
- Framer Slack room: framer.slack.com (RECOMMENDED)
- Framer Facebook group: https://www.facebook.com/groups/framerjs/
Happy prototyping ✌️