Super-helpful tips when working with Figma component properties
Handy tips to improve your understanding of Component Props

Component Properties. The best thing to happen to Figma since Figma?
After spending nearly two months working with the new Component Properties in Figma and experiencing the pros and cons of working with this significant feature, I’ve compiled a quick list of super-helpful tips for when you start applying them to your workflow.
Let’s dive on in…
Oh. Before you read the rest of the article…
🏠 Growing a SaaS startup? I combine strategic design with proven founder experience to help you build products users love.
Join the Haus waitlist for early-bird perks → https://gohaus.design/
1. Break your larger components into smaller chunks. Avoid toggle switch hell.
Component Props work great for smaller components, such as Buttons and Form elements, all while keeping your Inspector panel on the lean side.
But.
When it comes to larger Components, and if you don’t go about things the right way, your Inspector panel can start to look like toggle switch hell.
Break those larger components, when possible, into separate Variant Groups and nest the smaller variants into the Parent variant.
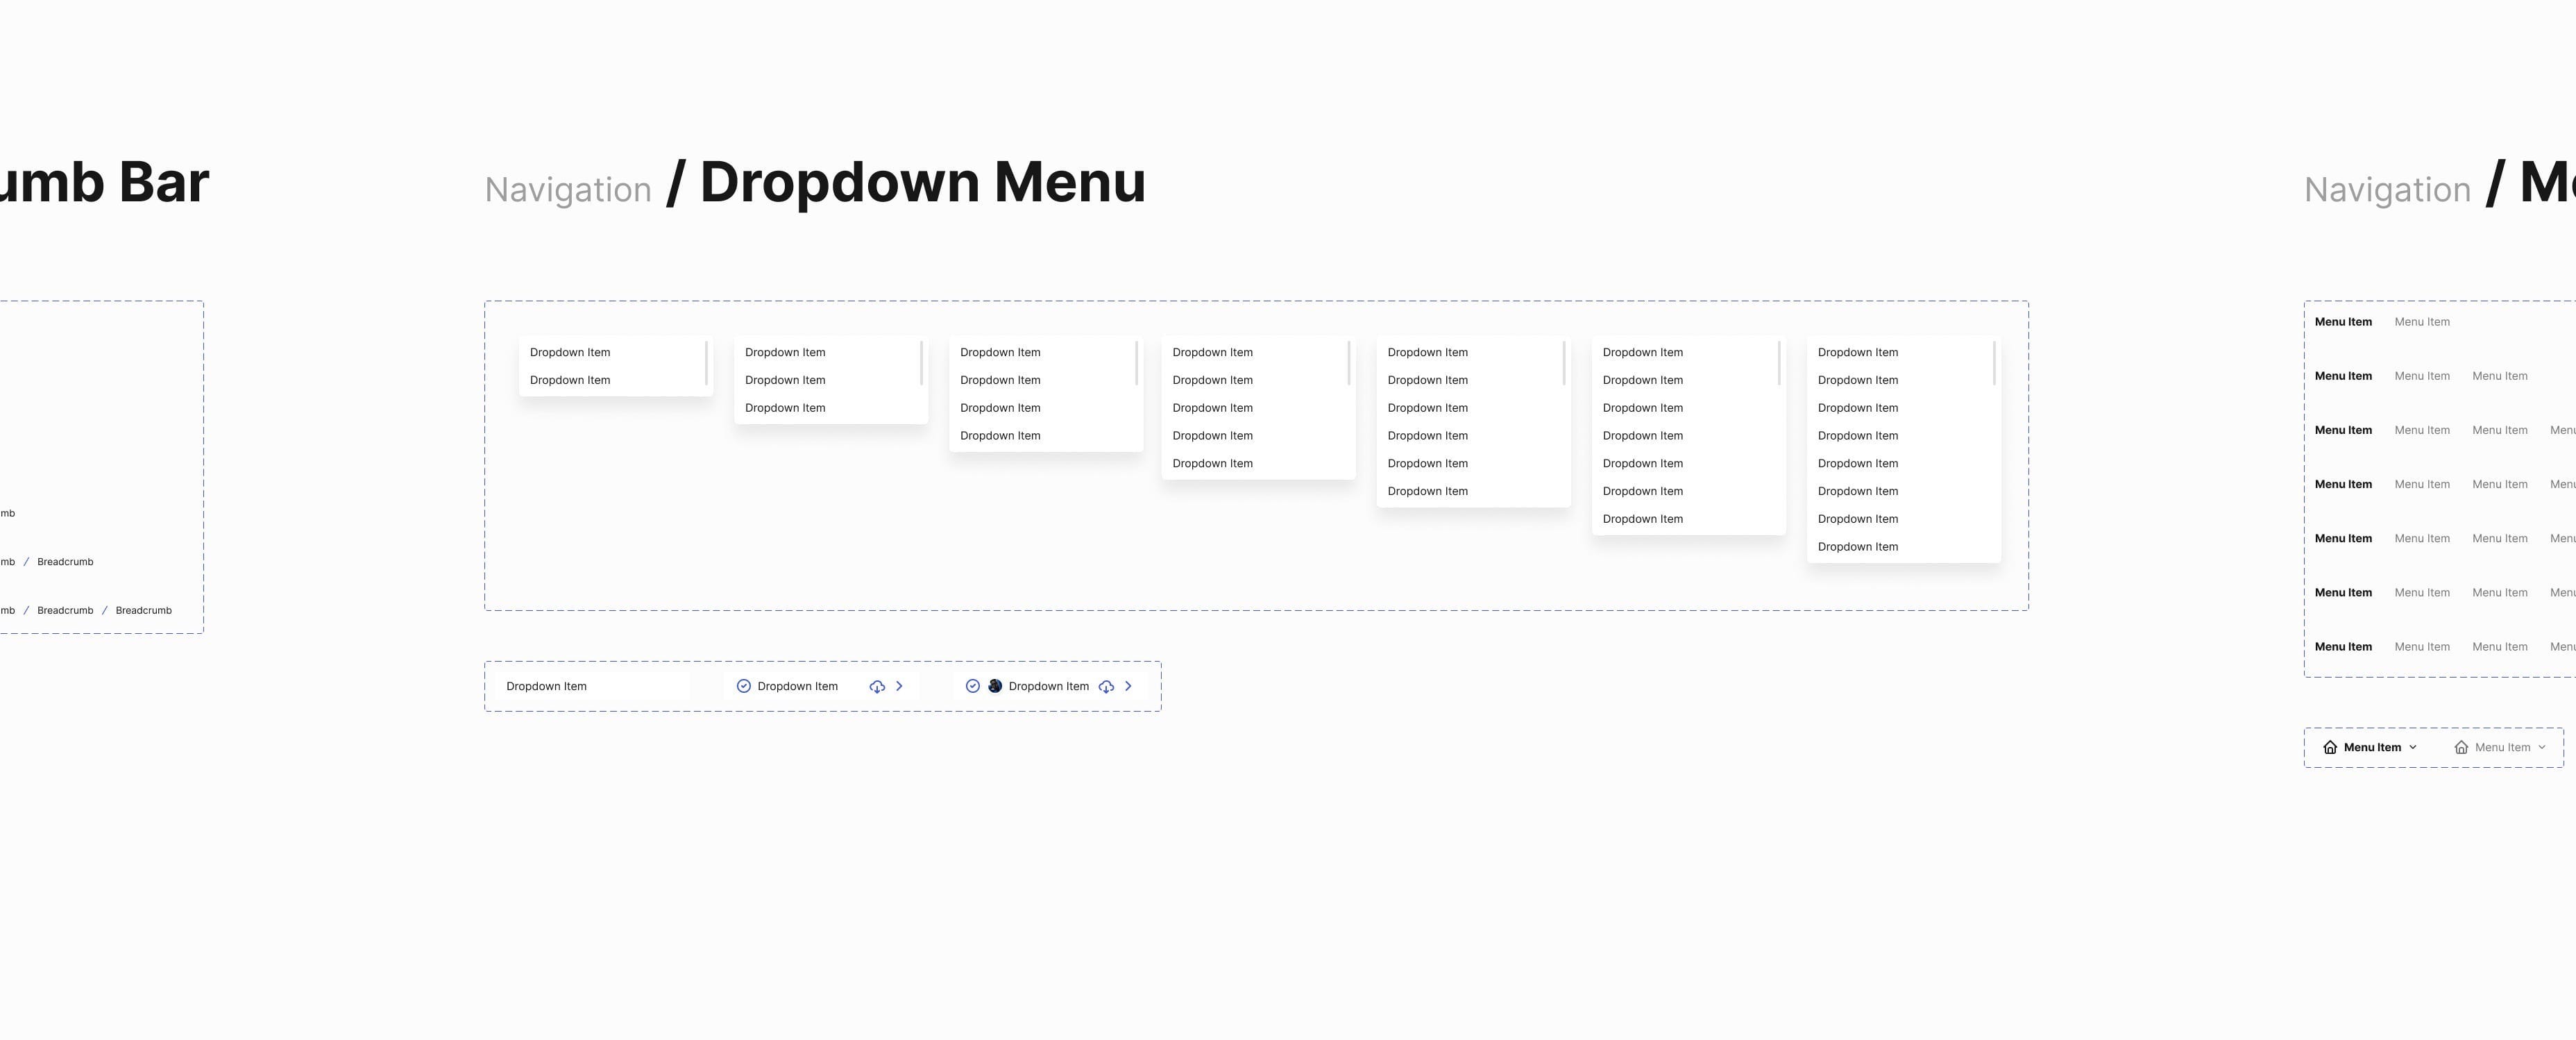
Yes, you will then have to select these nested elements manually on the canvas, but it will keep your properties panel much cleaner.
2. Strike a balance between Text Properties and doing things manually.
As incredible as component props are, especially the Text Properties feature, you need to evaluate when and when not to use them.

Use Text Properties for small text snippets, think Button labels, and Placeholder text in an Input field. For larger blocks of text, three lines or more, try and avoid Text Properties and edit your text manually on the canvas.

Trying to edit a five-line block of text in a teeny-tiny window in the properties panel is far from enjoyable.
3. Not every single component needs to be Propped out to the max!
Use Component Props in moderation when you can. Not every single Component needs the full-on Props treatment.

Say you’re working with a huge, detailed component and applying properties to every element in that Component. In that case, you can end up with a properties panel that scrolls for miles defeating one of component properties’ key benefits of saving you time.
Also, it’s still nice to have a little control editing your designs on the canvas instead of designing purely via toggle switches. Where’s the fun in that, right?

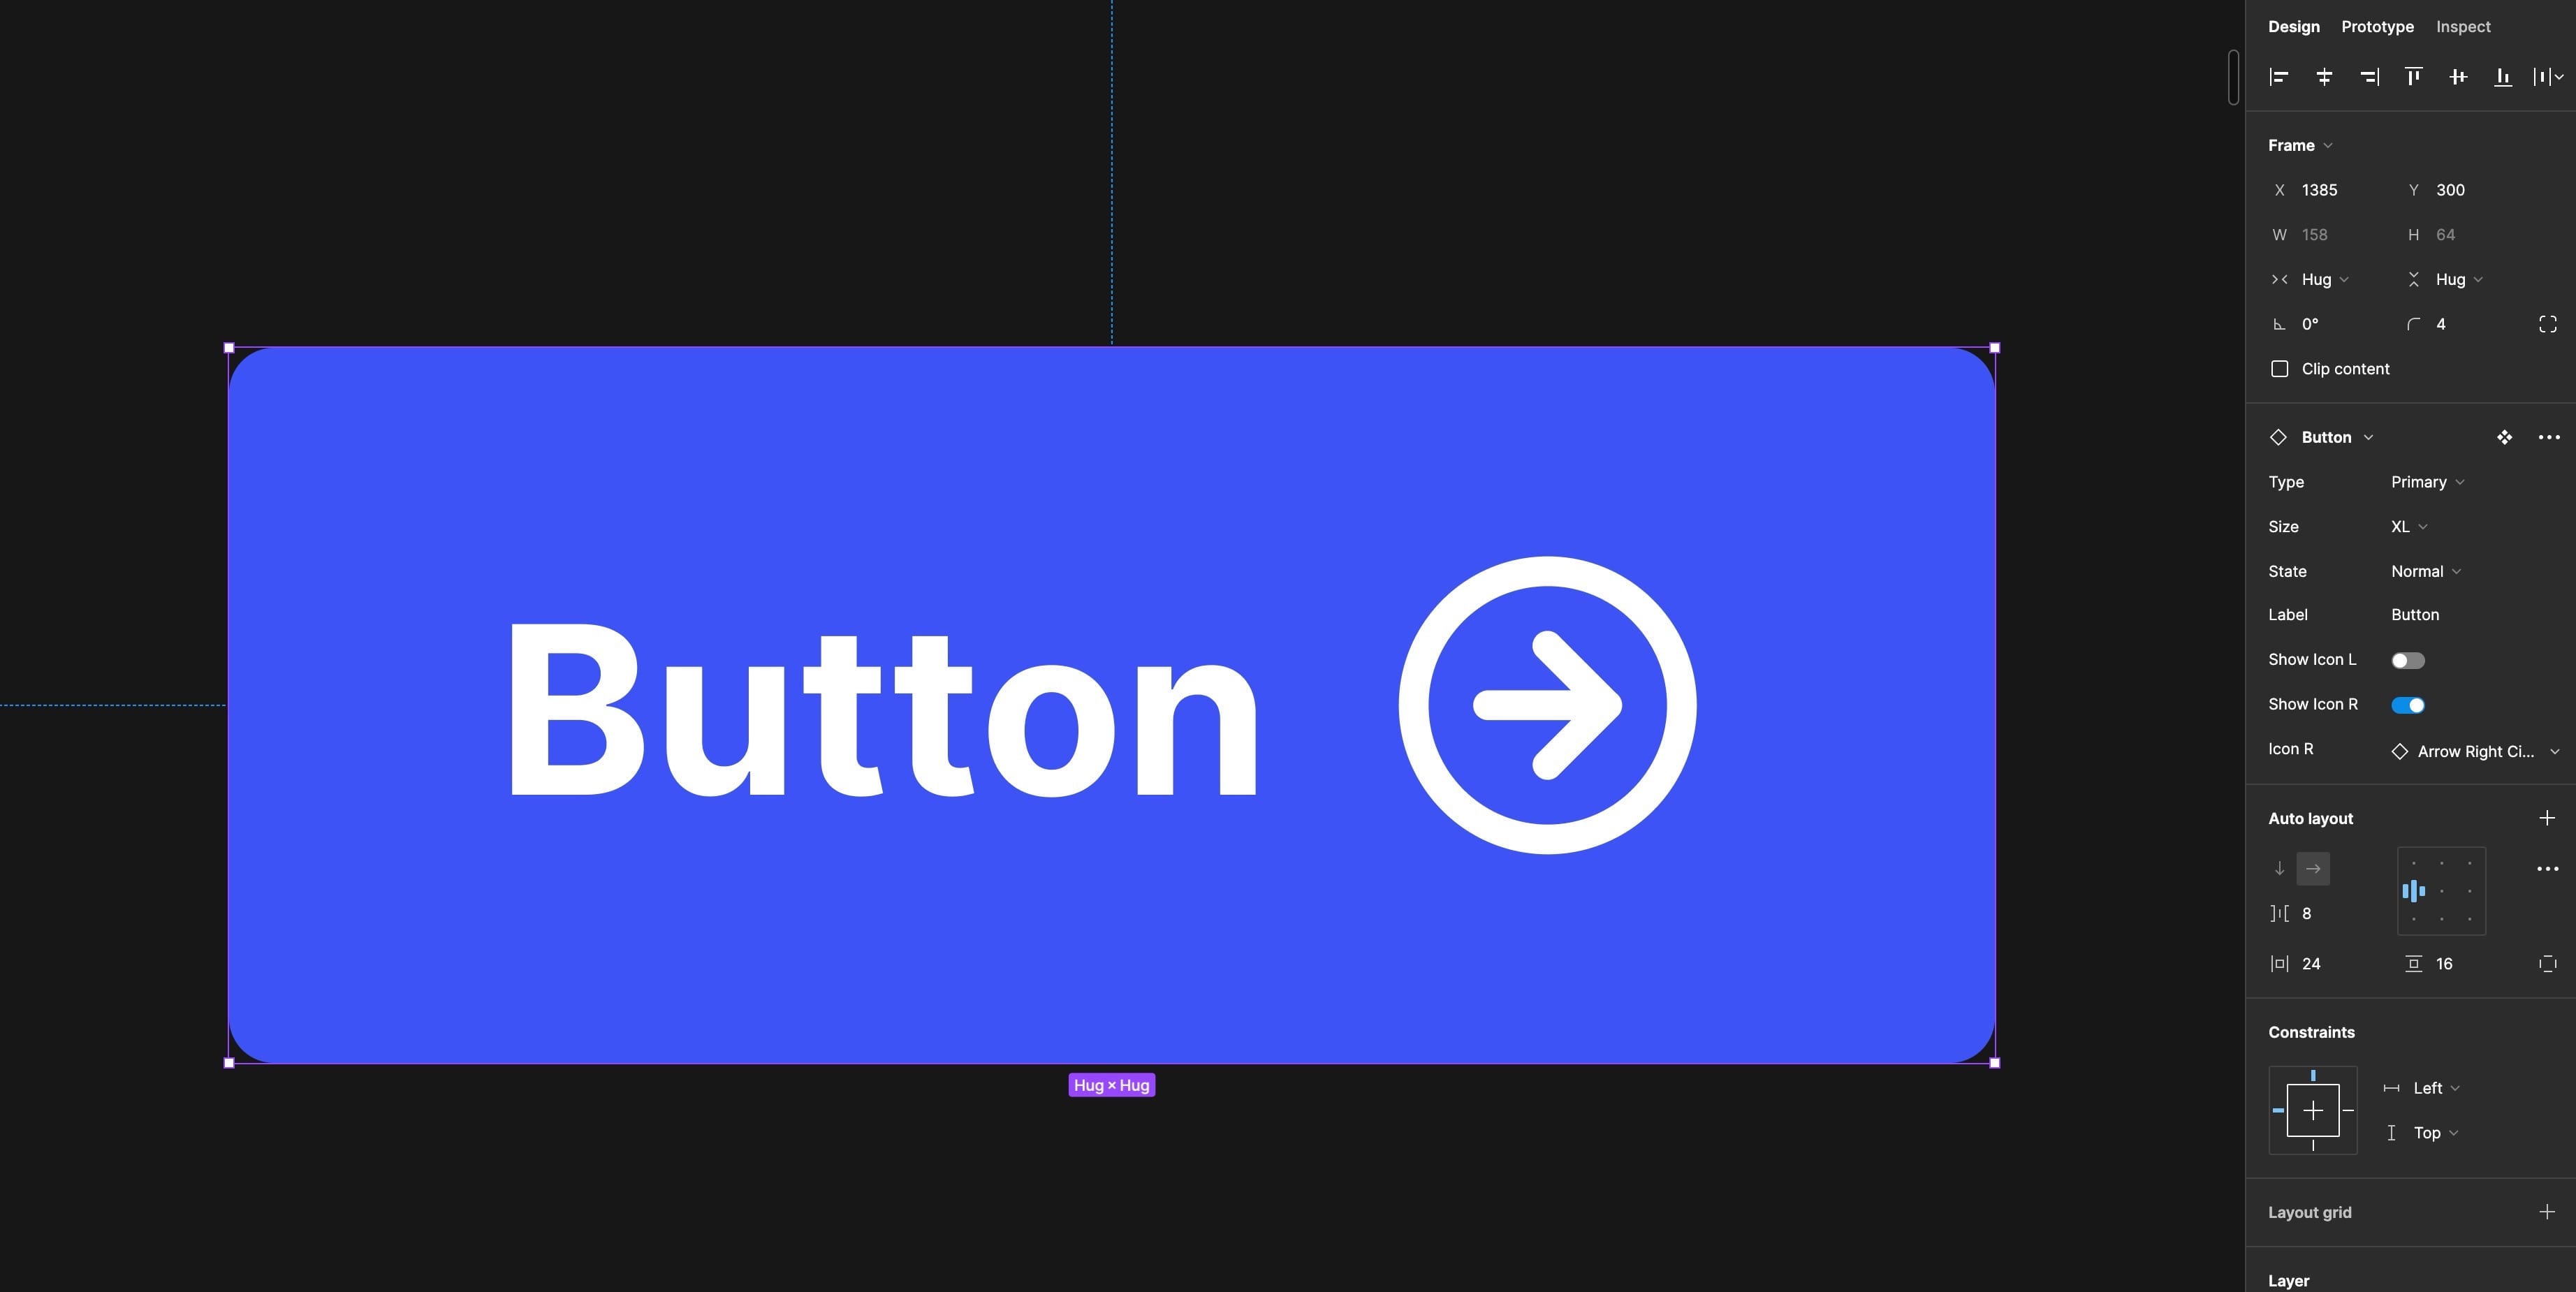
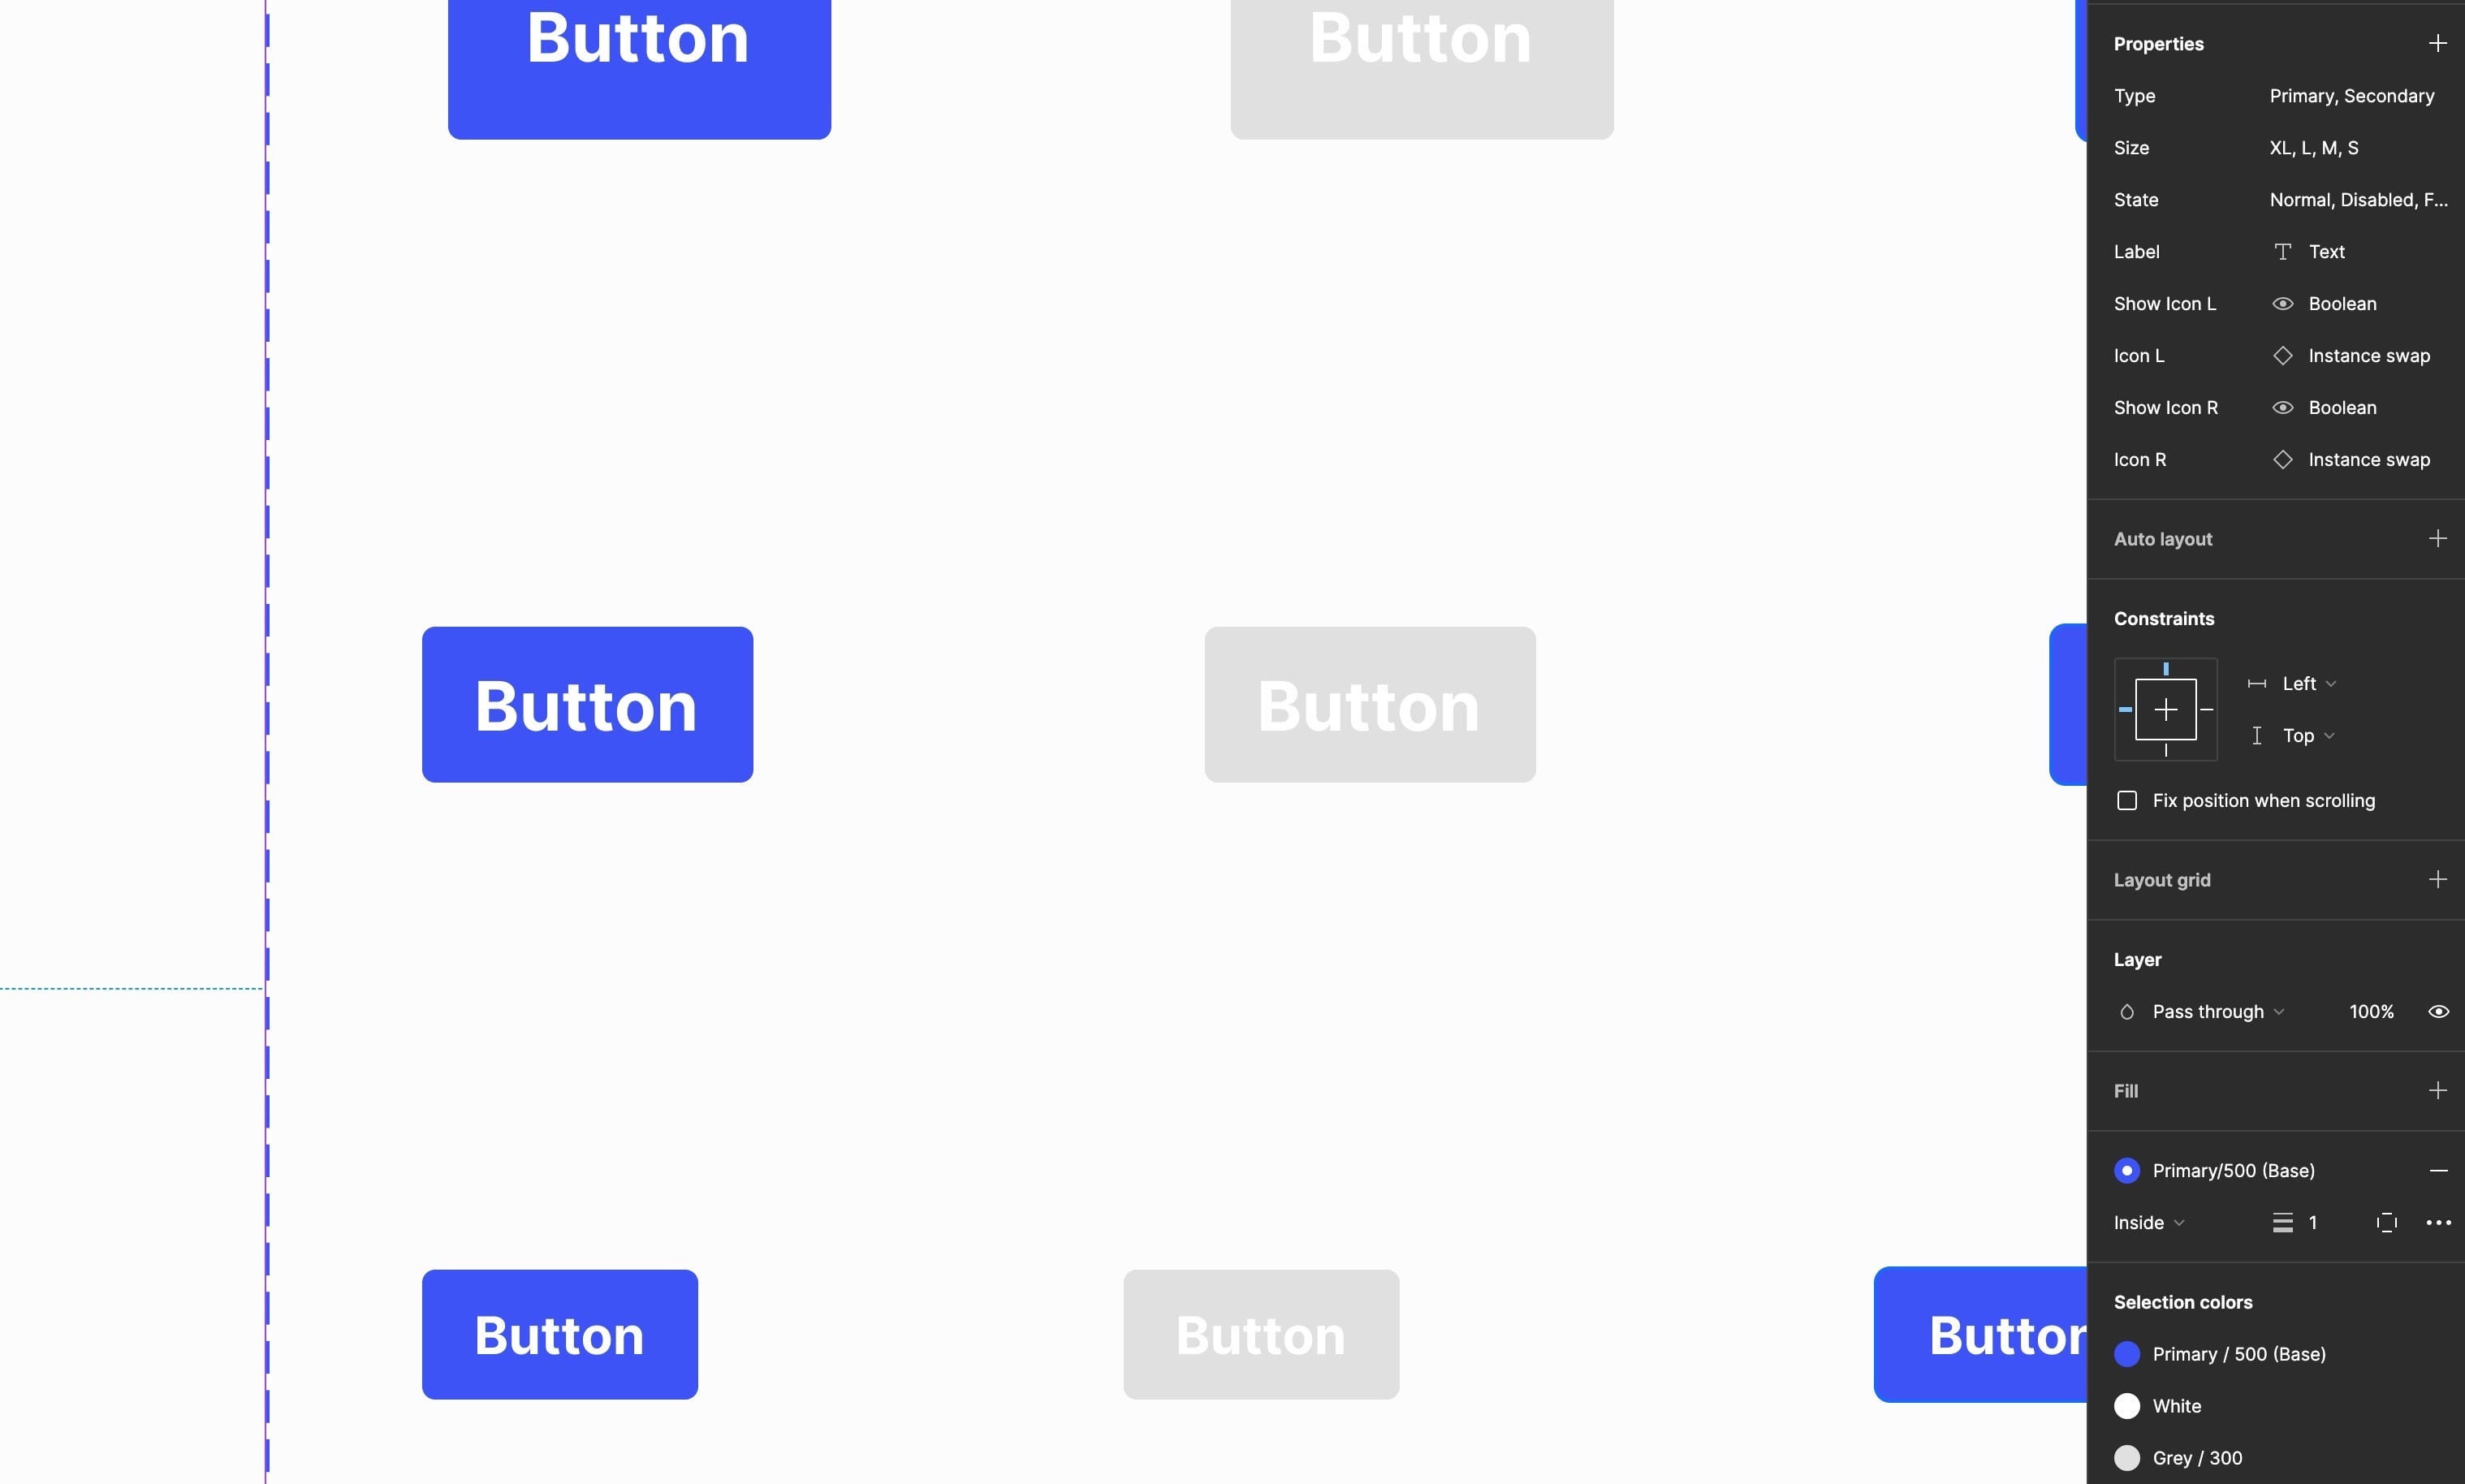
4. Use shorter label naming for your Props. That Inspector panel ain’t for resizing just yet.
Currently, Figma isn’t for letting you resize the width of the Inspector panel. I know. Maybe one day, hopefully.
So with that in mind, try, whenever possible, to keep the label naming of your Component Props as short as possible, easily understandable, and without affecting the user experience.
For example, when using Boolean (toggle) properties on a Button component, I like to label them Show Icon L, Show Icon R etc… They’re descriptive enough for the user and short enough not to be truncated in the properties panel.
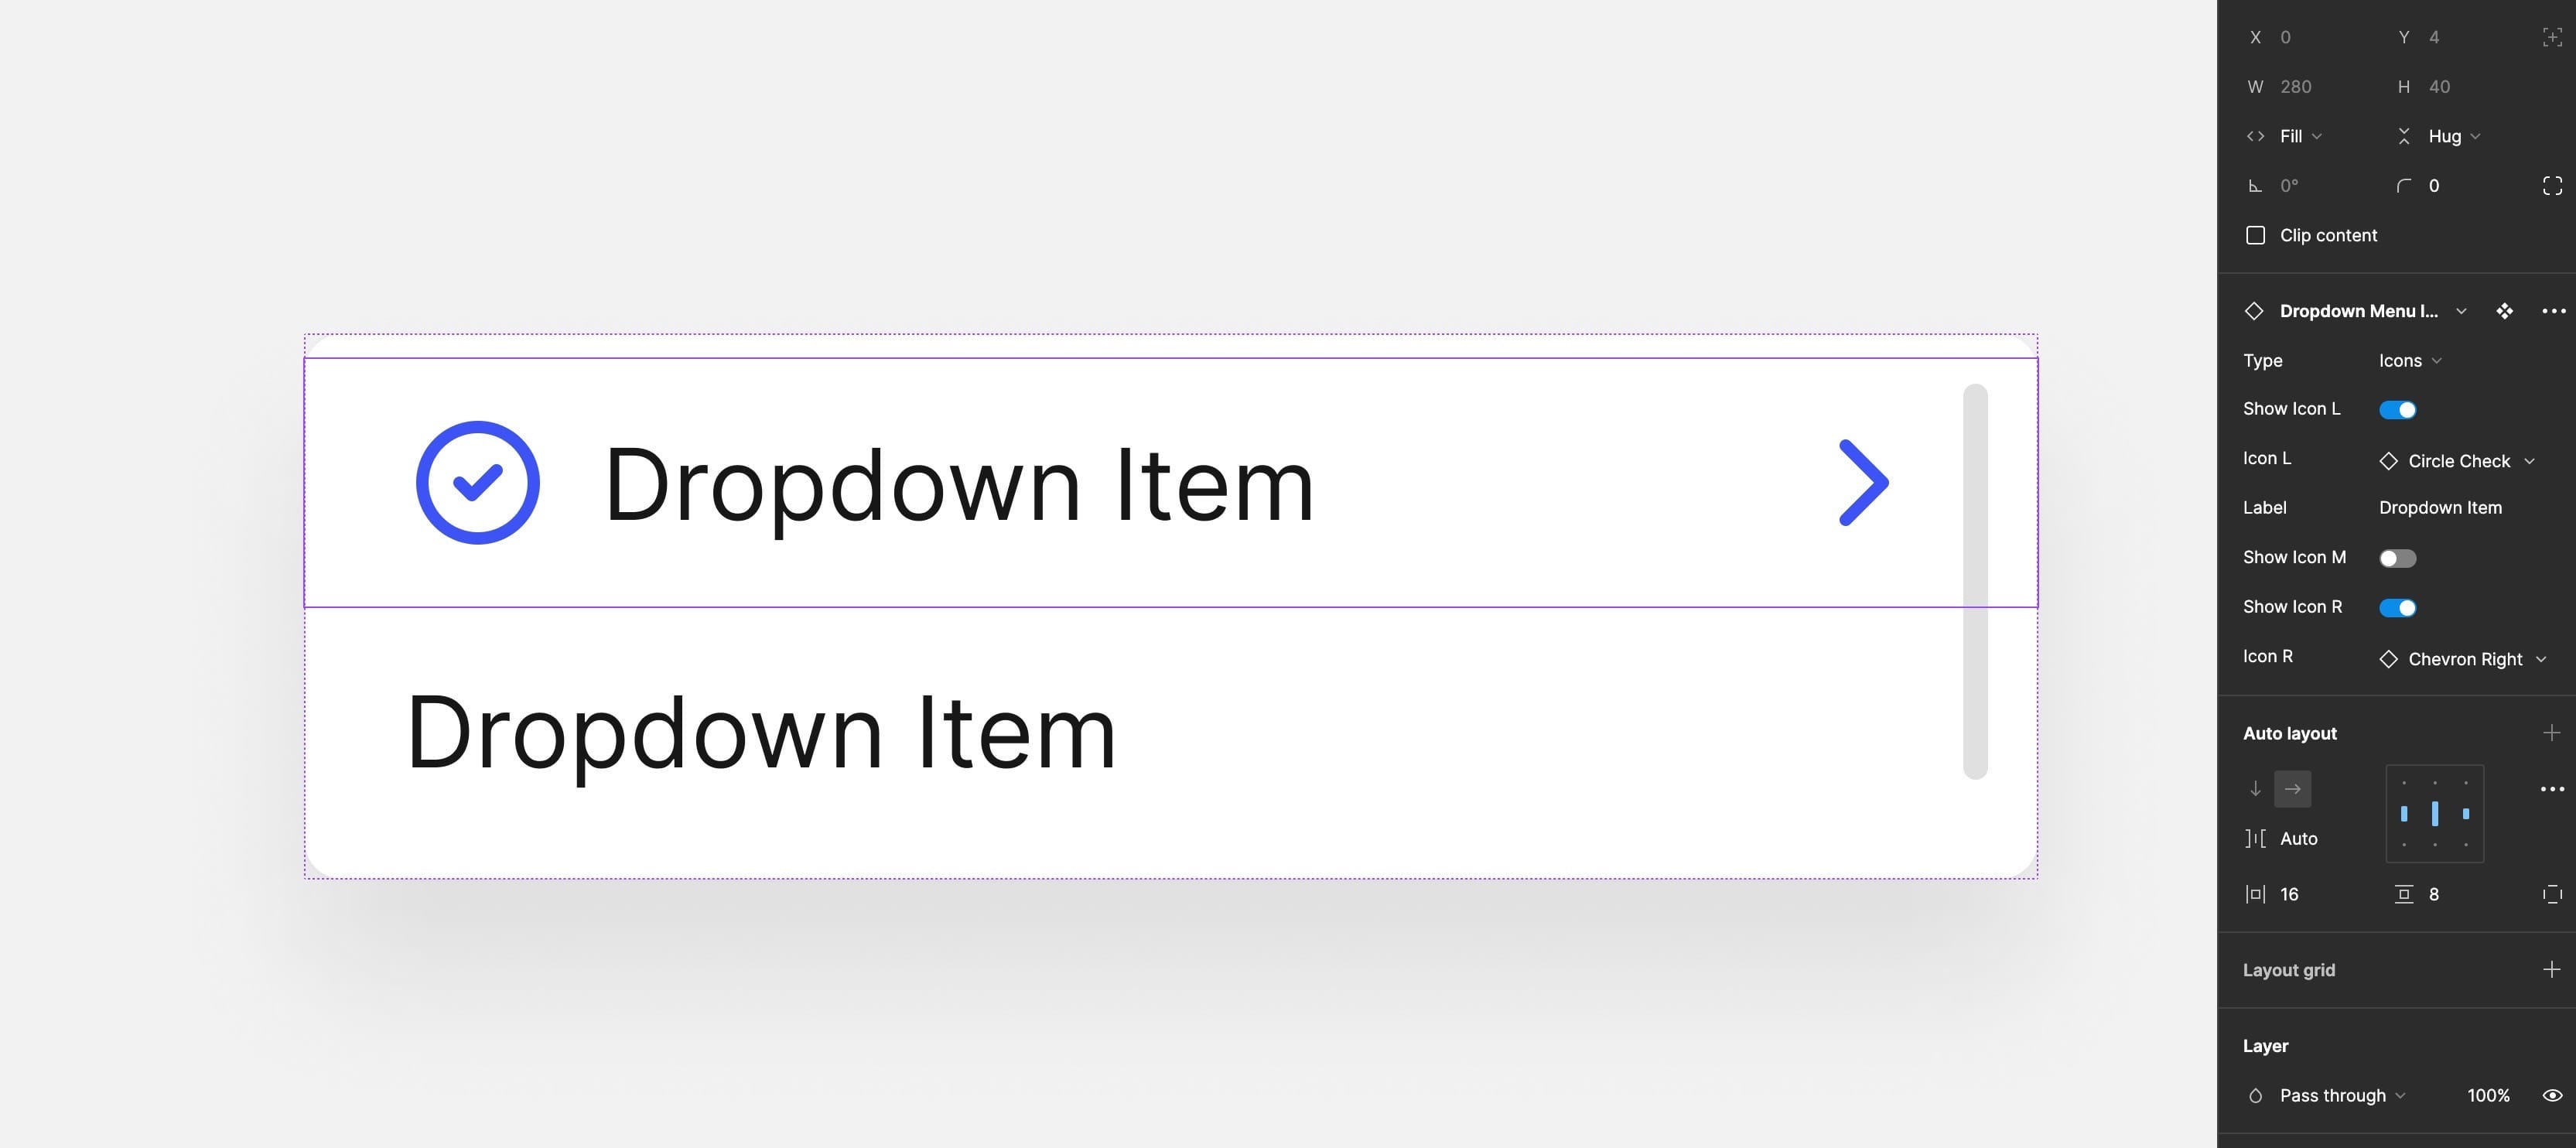
5. Make sure you organise your Props logically for easier management.
When you’re building out new Variant groups and then thinking about adding Component Props to variants within that group, try to make sure each property flows logically.
If you use a Boolean to show/hide an icon, ensure that the Instance Swap property for the actual icon comes after the Boolean.
For example — Show Icon L (Boolean) > Icon (Instance Swap).
Keep things logical and tidy in the properties panel and easier to follow for the next person.
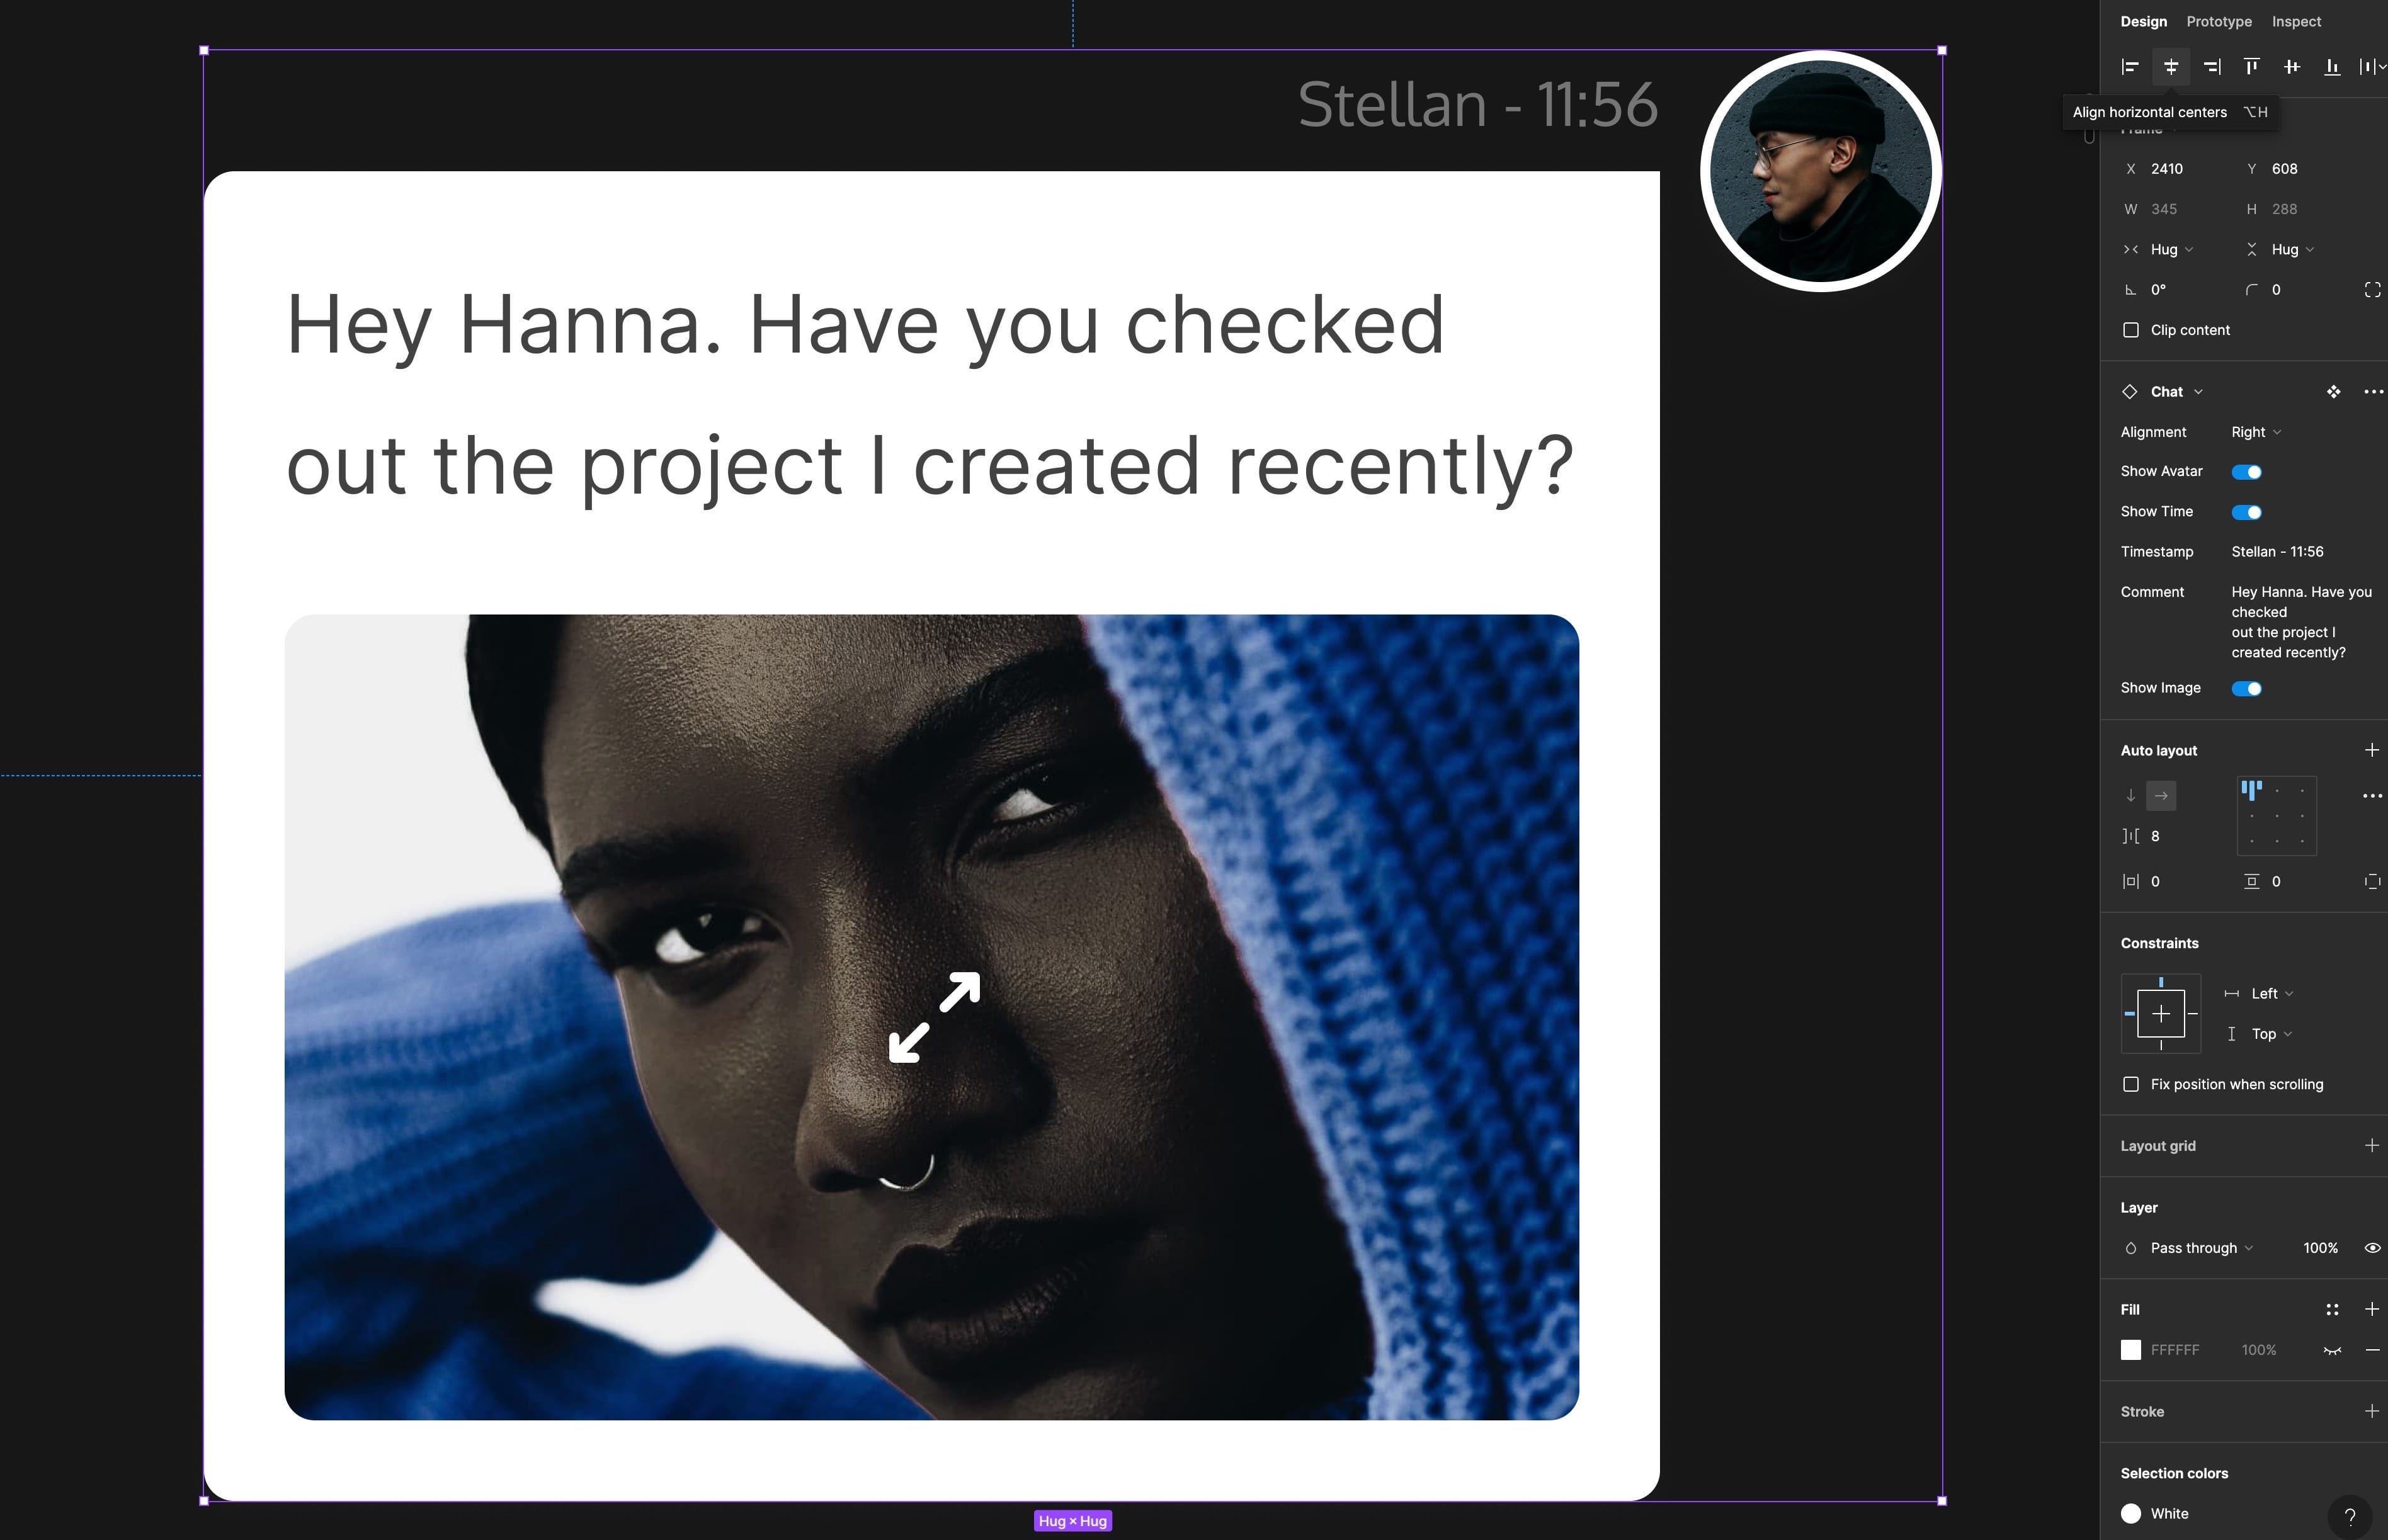
6. Have finer control when using Text Properties by creating separate Variant groups.
Text Properties, as helpful as they are, have some restrictions when working with certain components.
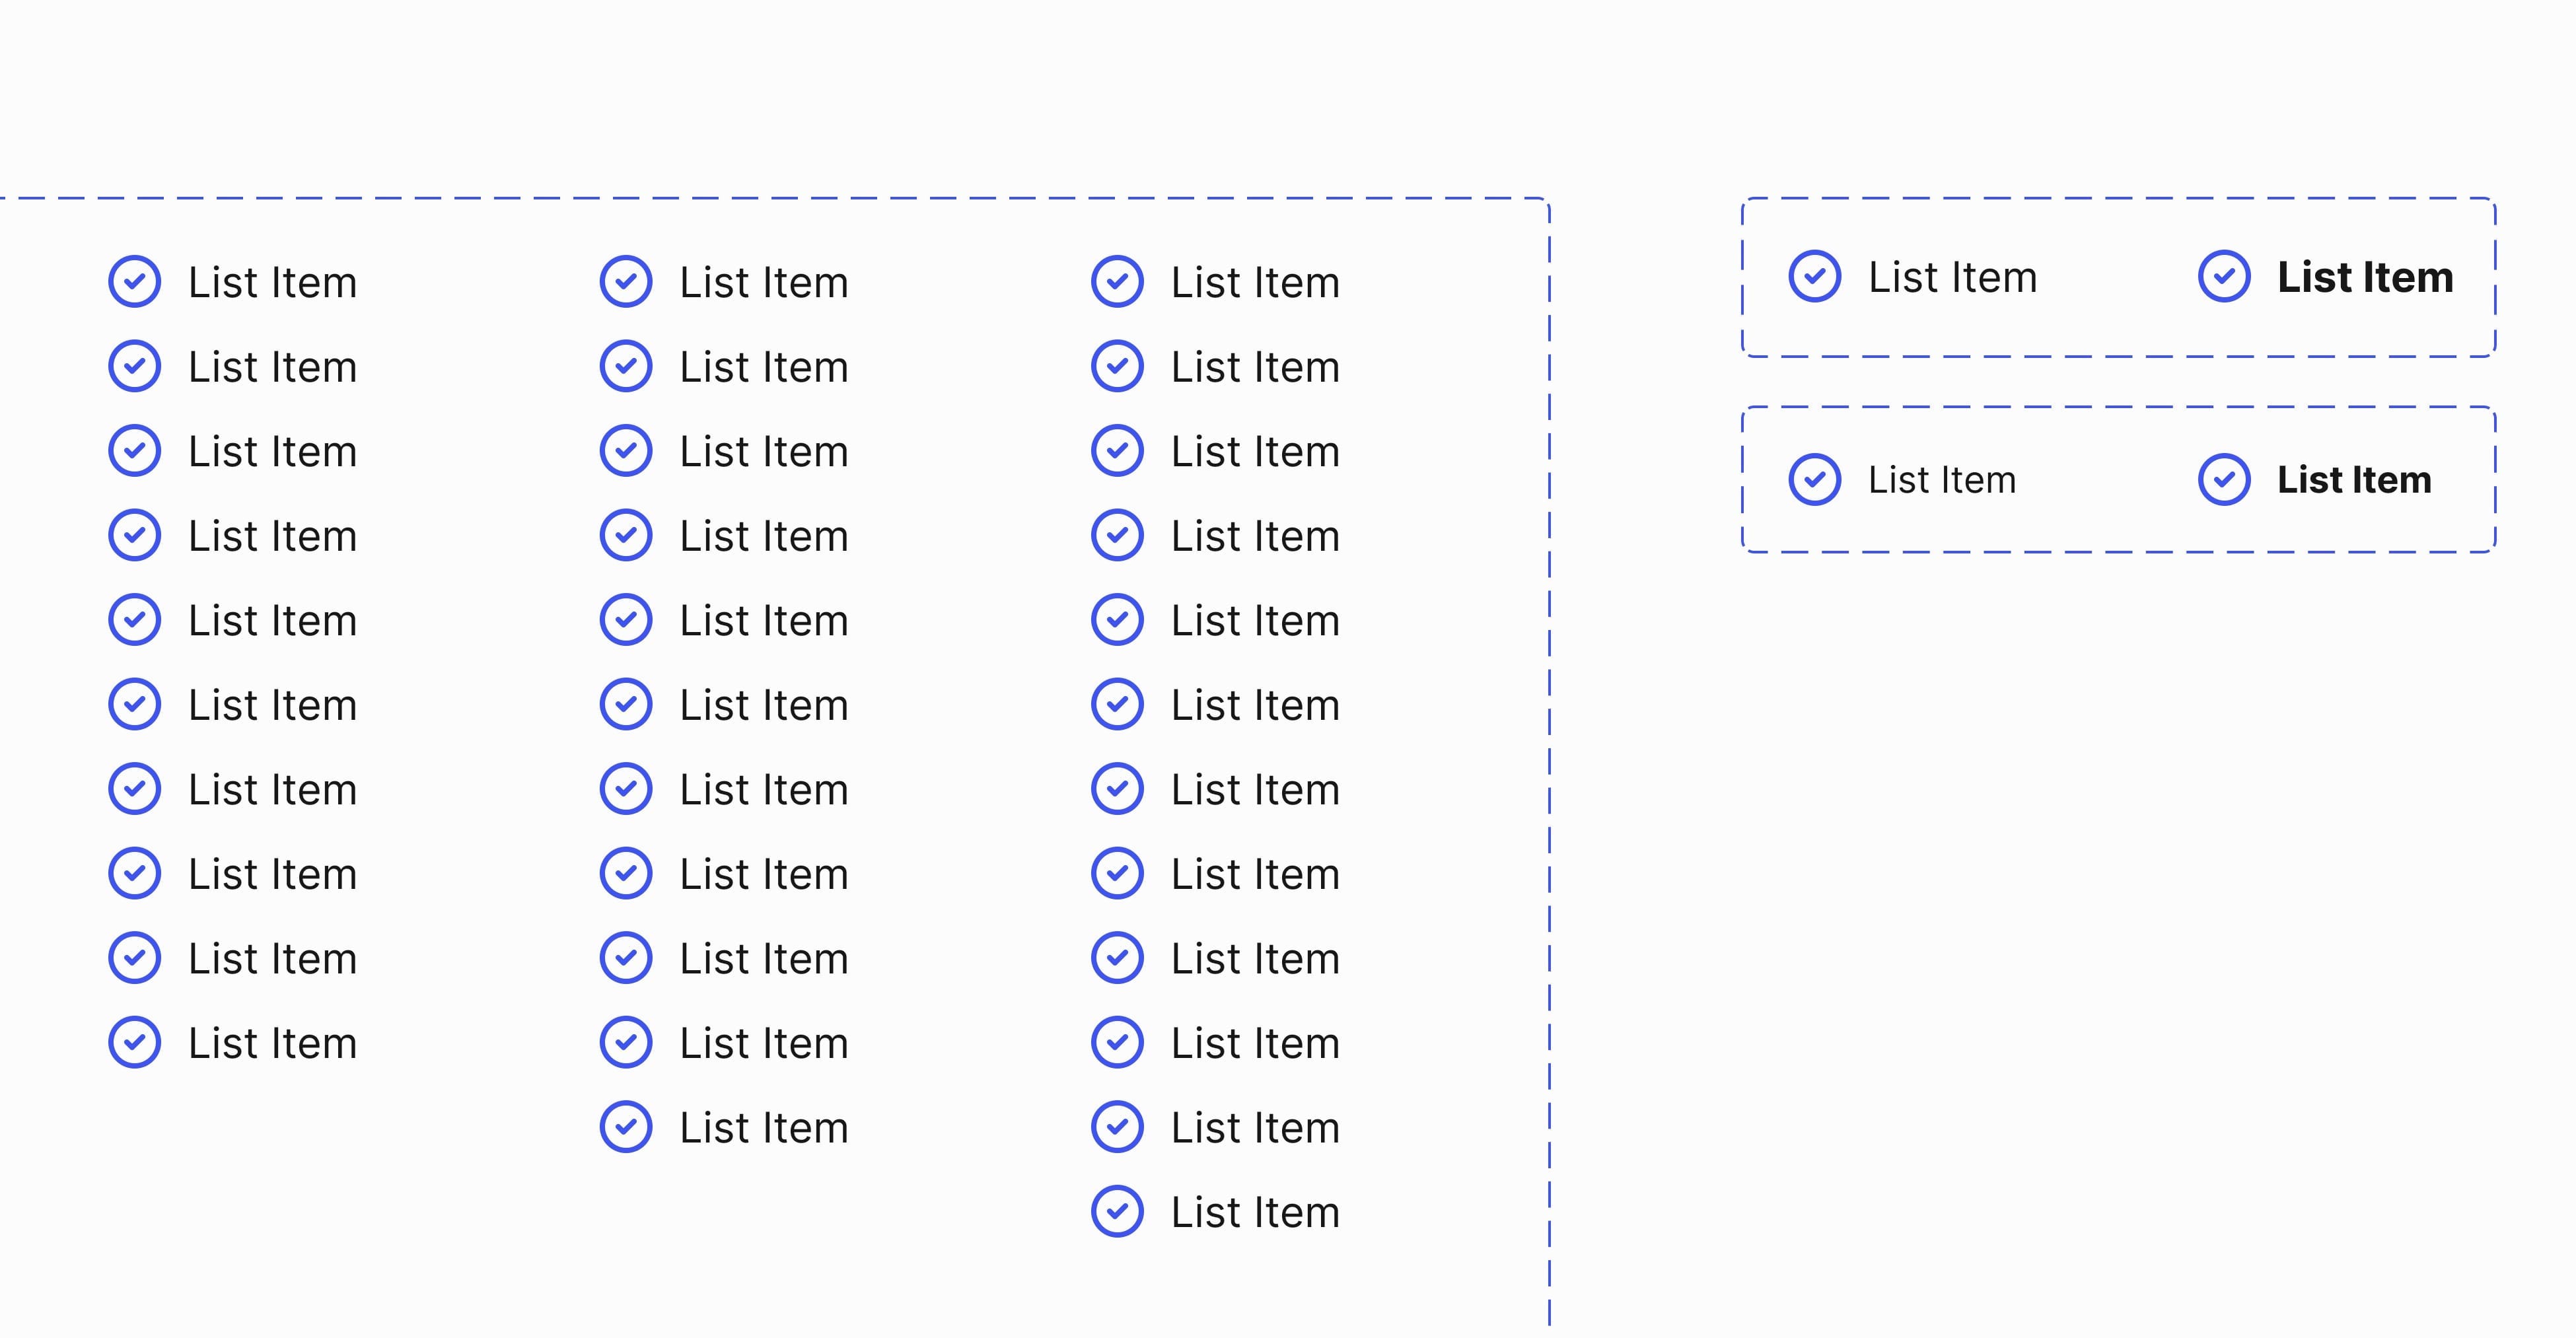
Take something like a List Component. When it comes time to drop a List Component into your design, you want each list item to say different things, right?
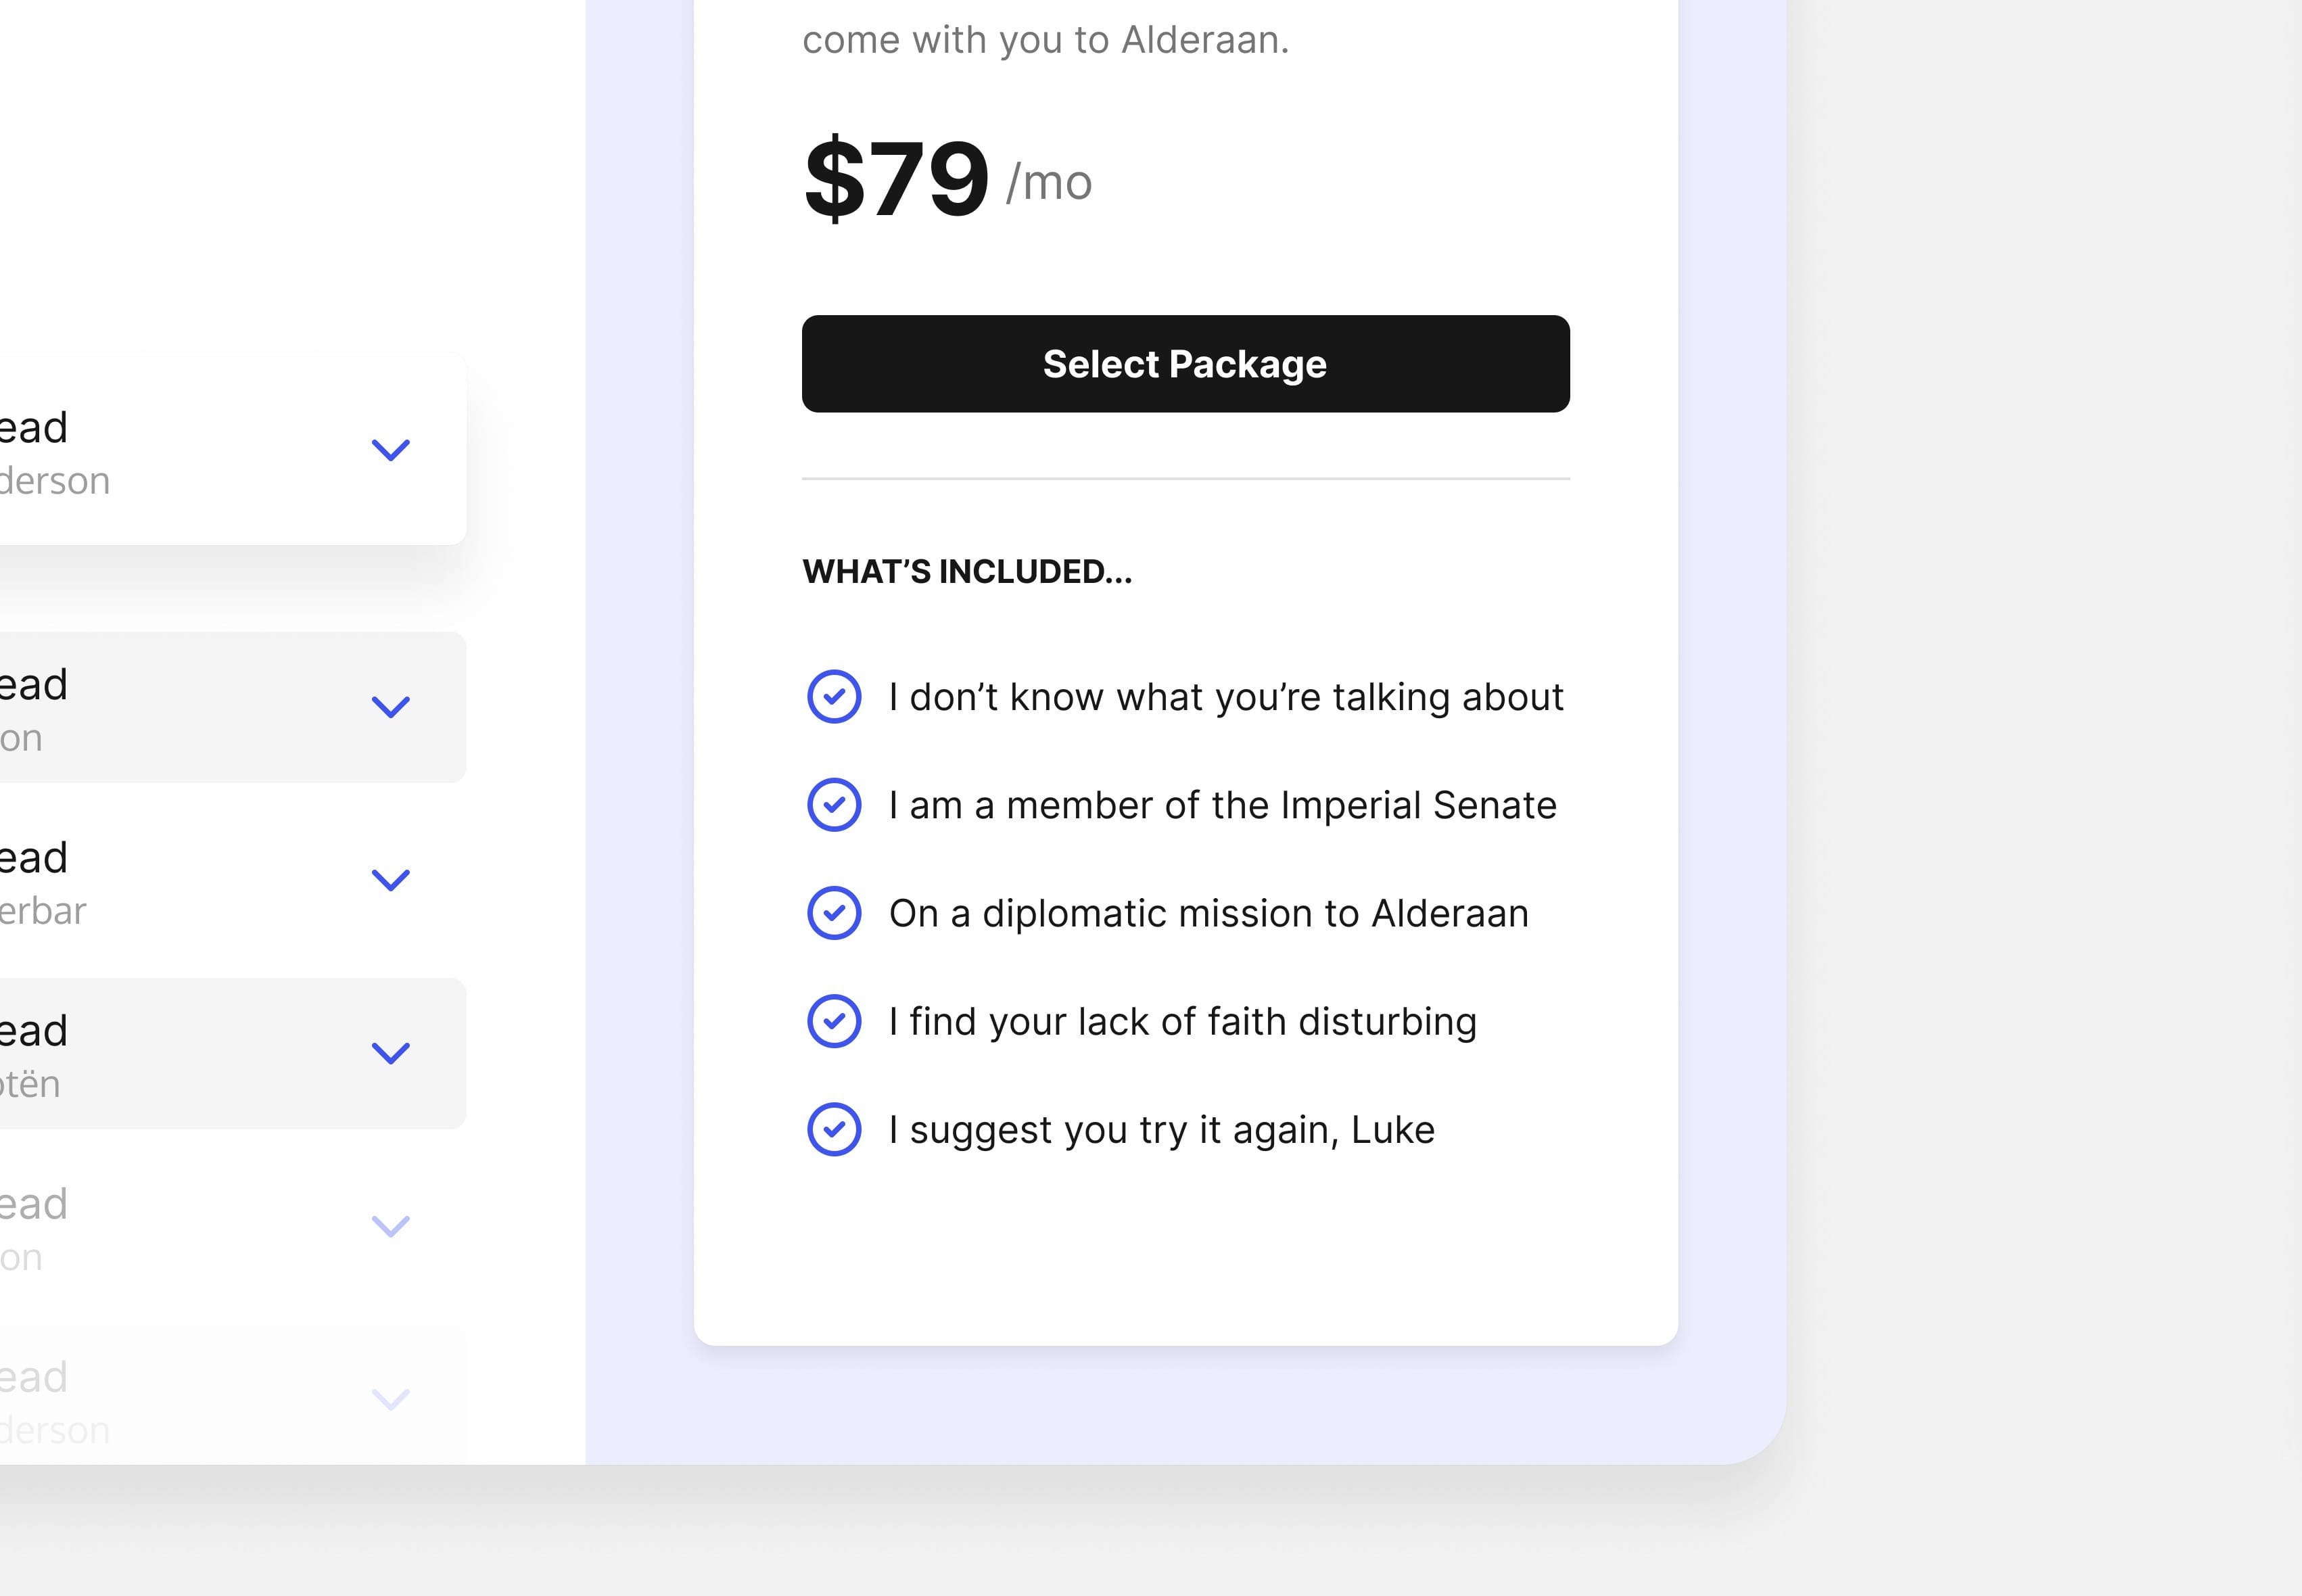
This isn’t possible if you create a Parent List Component and then apply a Text Property to each List Item. Every time you edit that text, it will change the text on each list item since it has the same property.
That’s why I suggest separating the actual list items into their own Variant Group and then nesting that component into the Parent List Component — doing things this way still allows you to adjust the properties on the Parent Components whilst still having fine-grained control on the child elements (List Items) within it.
Hopefully, this selection of practical tips will help you better understand the Component Props features in Figma.
They’re a great feature, especially for large-scale design systems (where I think they work best), and allow users a level of accessibility and ease of use that wasn’t there previously, and that’s always a good thing.
Oh. Before you go…
🏠 Growing a SaaS startup? I combine strategic design with proven founder experience to help you build products users love.
Join the Haus waitlist for early-bird perks → https://gohaus.design/

