Member-only story
How to make complex interactive buttons in Figma in 3 steps
Uncovering some “Hacks” to take your Figma prototyping to the next level.
Pro tip: Can’t read this article and want to become a Medium member? Sign up here to become a member.

This is a follow up to my previous Figma tutorial on creating Simple Interactive Buttons. If you haven’t read that yet, check it out! In it, you’ll learn how to create the simple interactive button below:

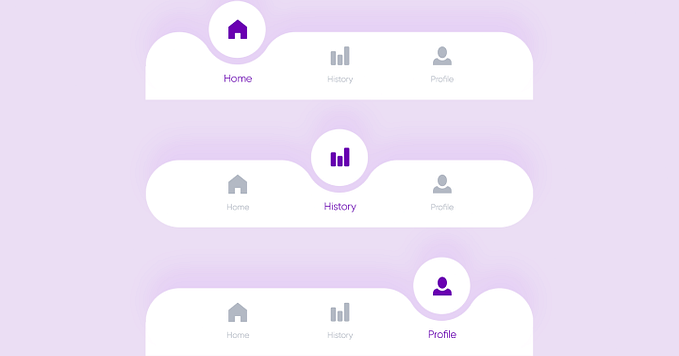
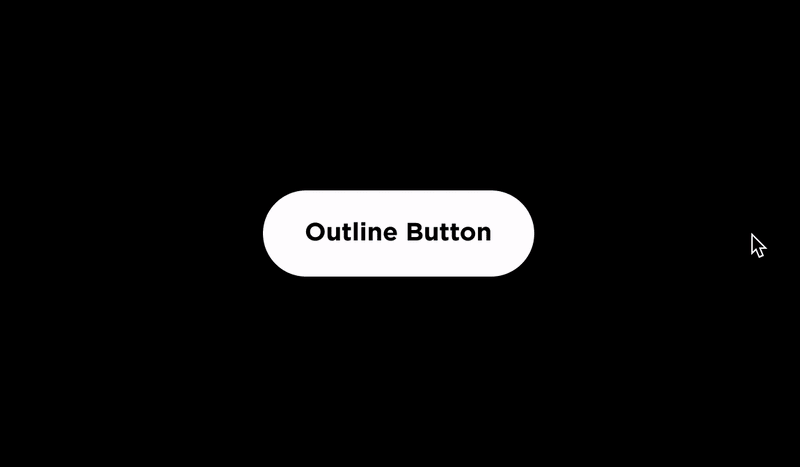
Now that you’ve got the basics down, let’s dig into how to make some more complex interactive buttons in Figma! A lot of the steps are the same, but let’s take things to the next level to make a few of the buttons below:
First of all, why are prototypes important?
To plagiarize myself…
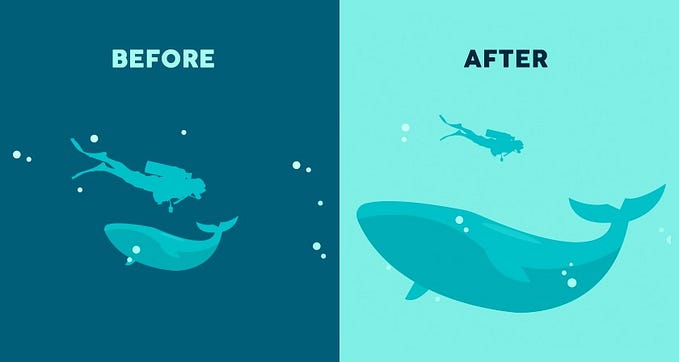
Walking through a prototype makes your design solutions feel real, and communicates so much more to your clients or stakeholders than a static design. It also helps you as a designer to not fall into the “Dribbble trap” of designing (maybe it looks nice in a little screenshot, but how does it actually work?). Making buttons that actually behave like buttons is a small step to make your prototypes really come to life. — Mike Gorrell, 2020
As you’re sharing your designs with others in your organization or with a client, it’s important to put your designs into perspective and show the user flow. As the designer, you probably have an idea for how one page might transition to another, but have you communicated it? Don’t assume that your stakeholders can read your mind, or that they have the same ideas that you have. If they did, then they wouldn’t have needed to hire you! By creating more complex interactive buttons in your prototypes, you can help bring your designs to life and tell the story that you want your solution to tell.