You're reading for free via Anna Rzepka's Friend Link. Become a member to access the best of Medium.
Member-only story
Building interactive 3D prototypes in Figma

If you are looking for a way to add some extra flair to your Figma designs, you should check out Spline. Spline is a foolproof 3D design app that every designer can get the hang of regardless of experience. It is way simpler to master than other sophisticated 3D software, such as Autodesk Maya, Cinema 4D or Blender. The learning curve for these is steep, so you can fall trying to reach the summit.
Spline does not hamper you with feature overload or an endless list of settings. Yet, you can still create models with parametric objects, polygonal editing and sculpting. Material assets help you keep textures and colours in check. Animation properties and web browser events allow you to bring your designs to life. Finally, React export enables you to integrate your scene into your projects. Not only can you create your visualisations for prototypes, but also you can display them on your websites.
Design interface
(Figma)
Let’s design a product details page for an e-commerce website. Imagine that our client is a cosmetic brand. Since we want to keep up with the trends, we are going to use prominent 3D product visuals for this project ;)
Set up layout
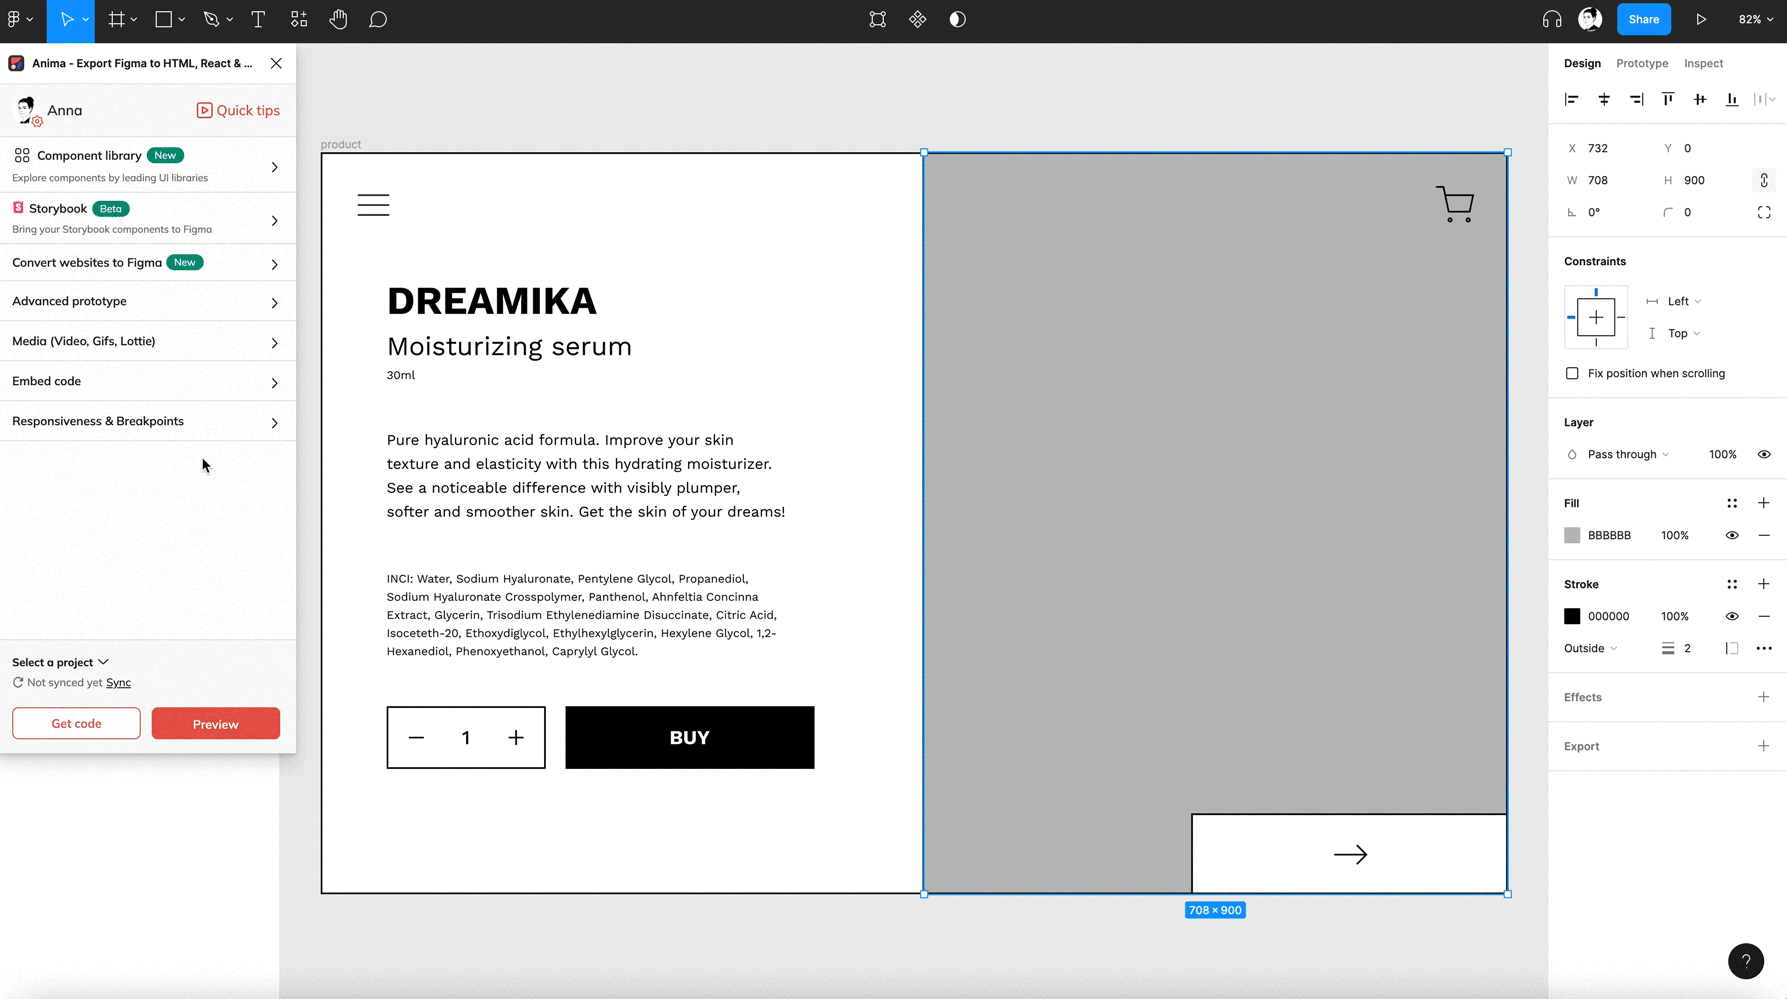
Our page has two main parts. We have all the necessary product details on the left: brand name, product name, ingredients and a call to action button. On the right, we place a regular rectangle as a placeholder for our three-dimensional serum bottles.

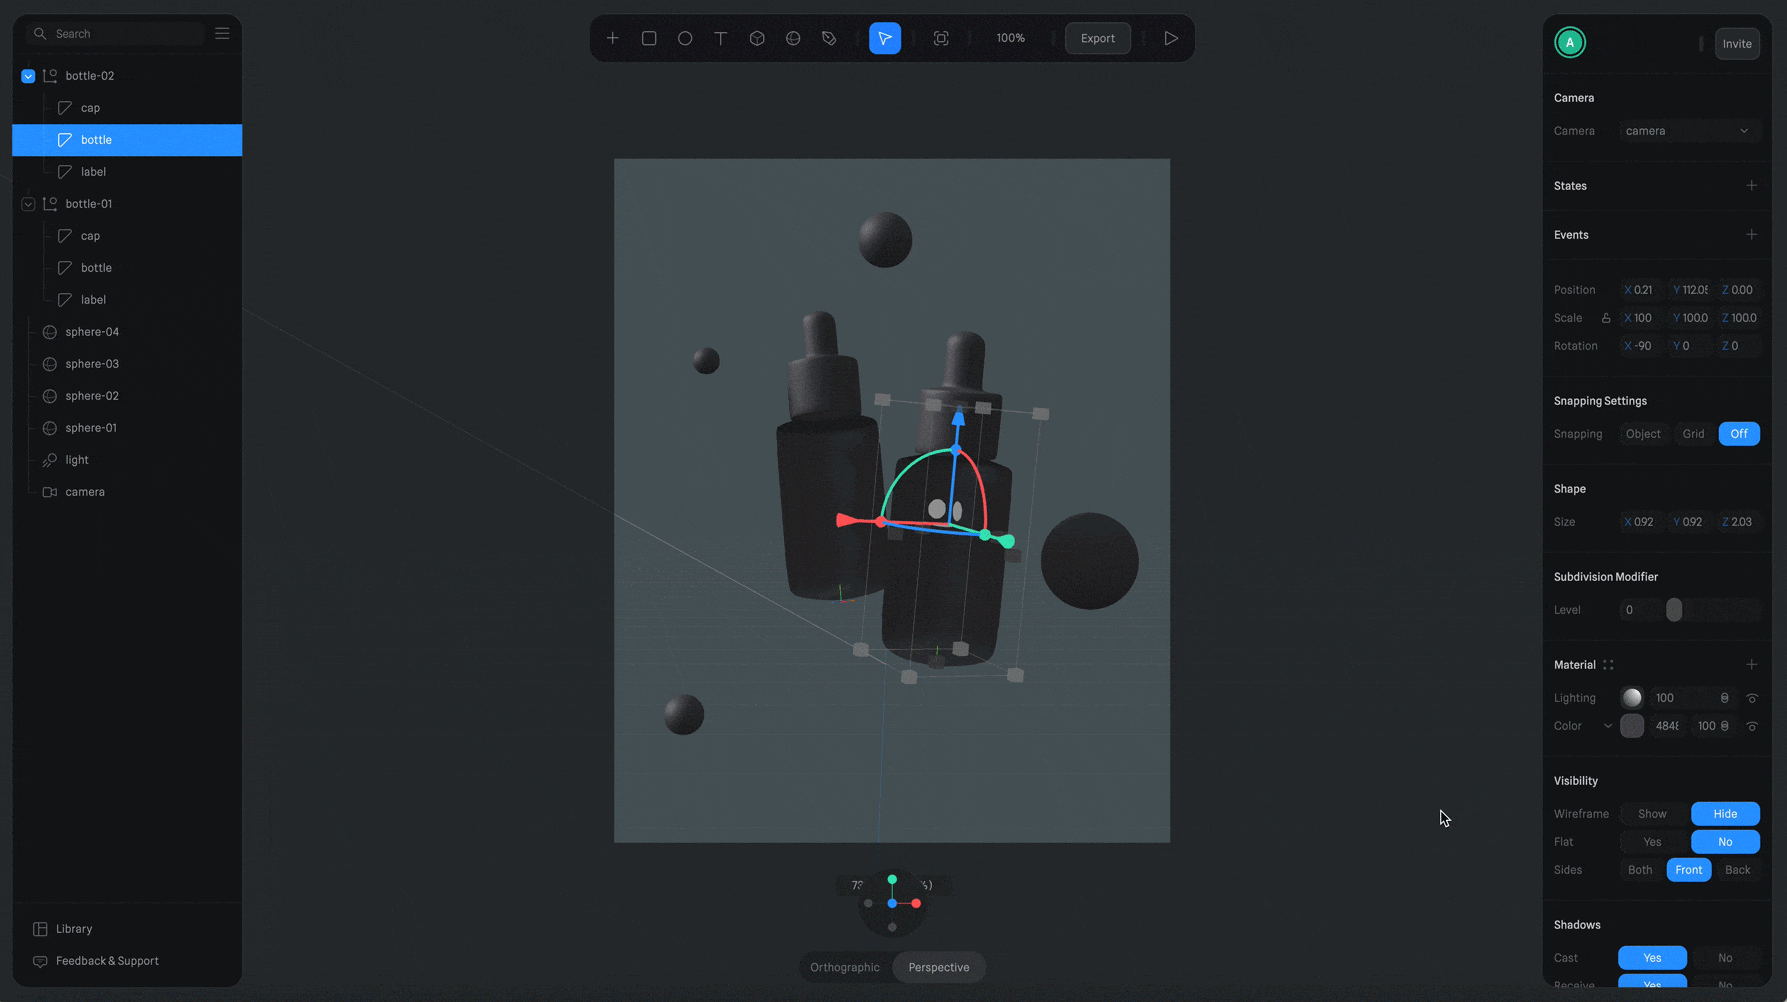
Prepare 3D scene
(Spline)
Let’s jump into the Spline app. At first glance, you may experience déjà vu, because the interface is quite similar to other 2D editing software. Like in Figma or Sketch, the layer list is on the left and all the properties are on the right. On the top, there is also a list of objects you can add to your view.
Import 3D model
You can mold and sculpt in Spline. But today I will be a bit lazy, or as my best friend would say, time efficient ;) and I am going to use a ready-made 3D…

Assign materials
My scene has two dropper bottles and some spheres floating in space. All elements have default material assigned. It has two layers: Colour and Lightning.
Material layers work similarly to what you can find in other 2D design applications. It is a vertical stack which you can control with opacity and blending modes.
For the bottle, I will change the colour to blue and add the Fresnel layer. It shows a colour based on the angle at which a surface is facing the camera. As for the label, I will add the Image layer and choose a JPG file with a product name. The cap is just a plain black material.
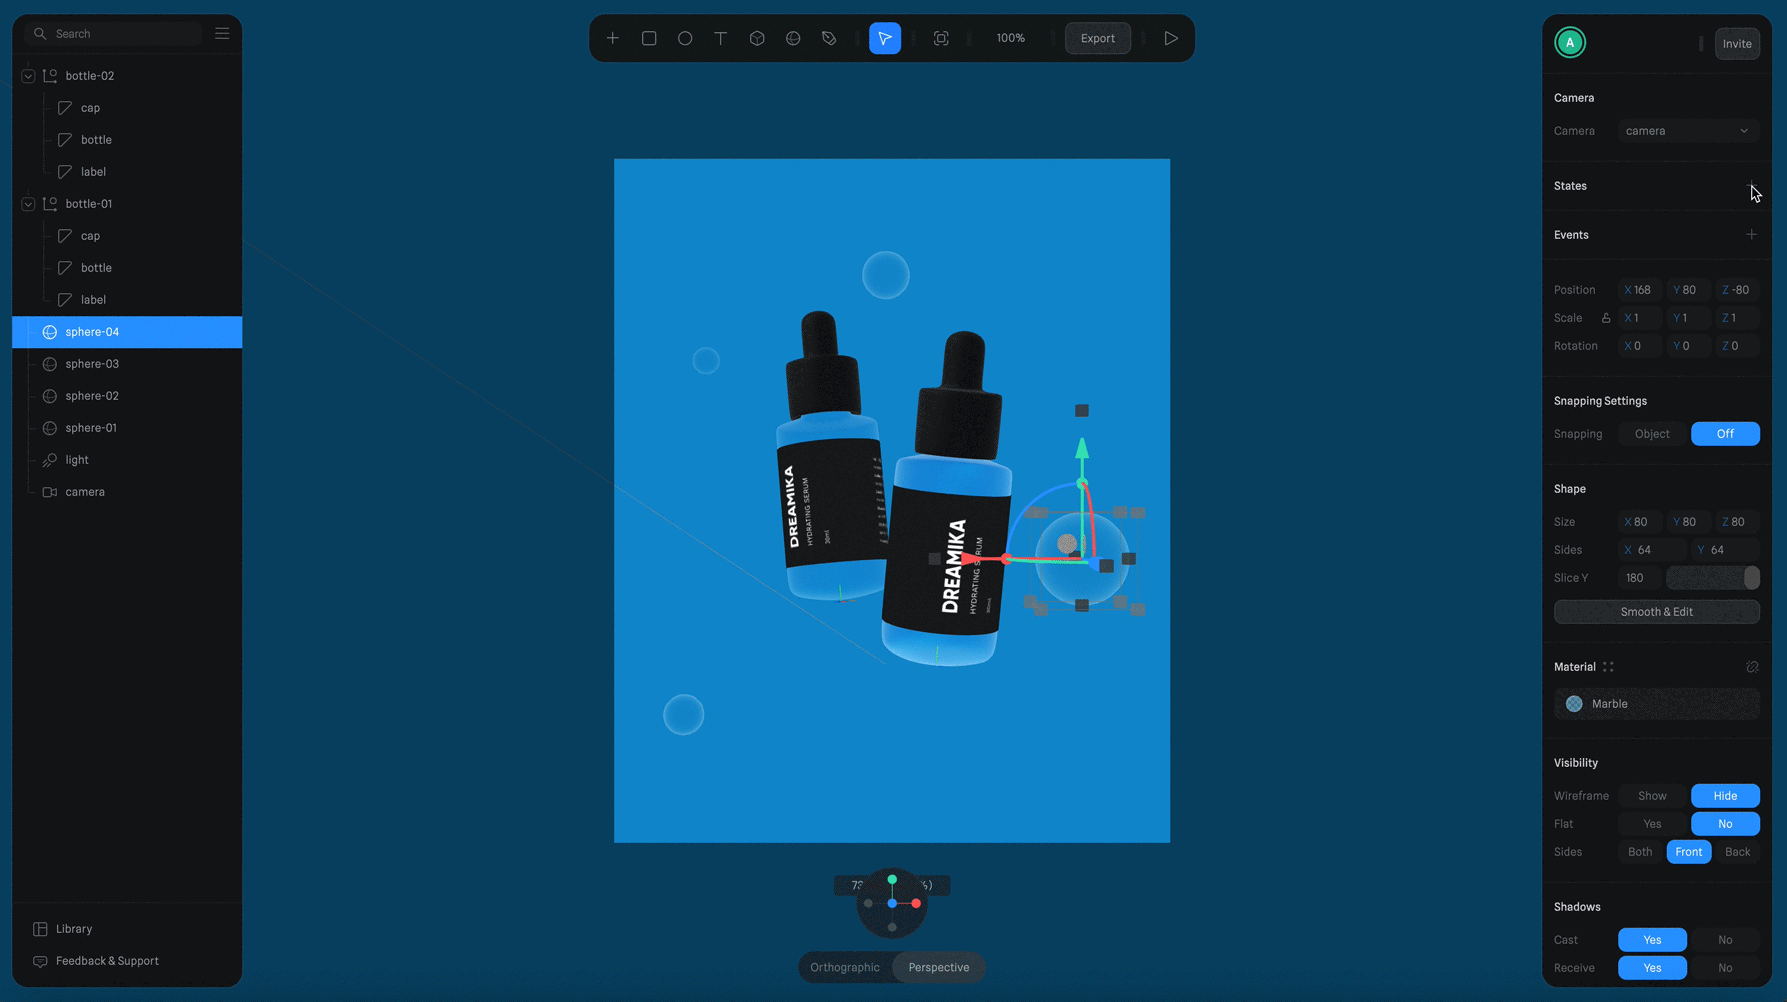
Set up interaction
It is time to add some movement to the spheres. We are trying to sell a moisturizing serum, so water-like droplets hovering in the air make perfect sense.
Spline animation works on state-based principles. First, you need to have some States defined to interpolate properties between them. You can trigger motion using Events.
To add a State, select the object and click on the plus icon in the properties panel. Then click below to add an Event. At Start, we want to trigger our animation. In the contextual menu, you can change the easing, duration and cycling. Eventually, move your object position on the viewport.
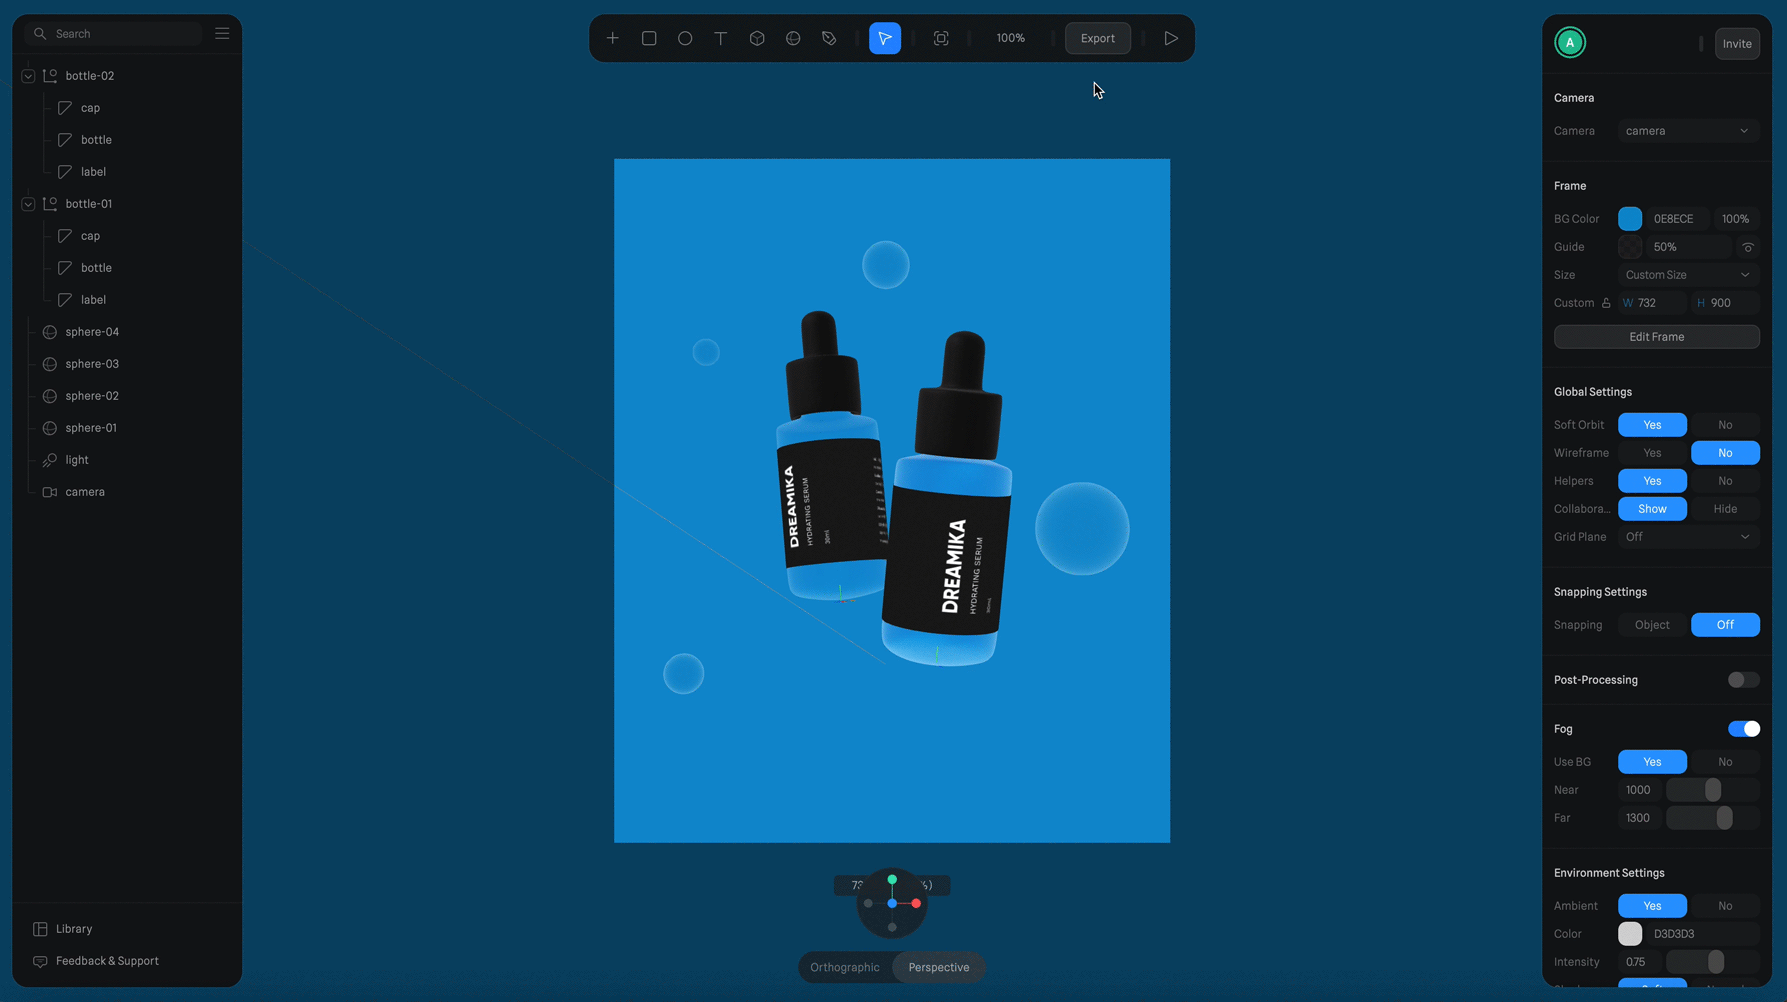
Export scene
When you are happy with your animations, it is time to export the scene. The export settings are accessible from the top menu. I choose to allow orbiting with the Orbit Limits turned on. This will help to keep the product always visible.
The embed code we need to copy for Figma is at the very top of this menu.
Embed your scene in Figma
Regrettably, Figma does not support 3D in the Preview Mode. However, there is a neat trick to overcome this slight inconvenience.
Use Anima plugin
Anima is a plugin that takes plain Figma prototypes to another level. It allows you to embed code into your designs. To run the plugin, hit Shift+I, go to the Plugins tab and search for Anima.
Then, select your placeholder rectangle and press the Embed code option in the Anima window. Paste the snippet from Spline and voilà! Click the preview button to play with your 3D prototype.
Conclusion
If you’re looking for a way to make your prototypes stand out from the rest, then Spline and Anima are worth checking out. Give it a try today and see how easy it is to add some extra pizzazz to your Figma designs!