Level up your UX micro-animations with Phase
An animation tool for UX designers who don’t have time for After Effects
Creating any kind of UX animation is a challenging process because there are sooo many moving parts — the design elements (color, shadows, etc.), the trigger (what activates the animation), the timing (what happens when), and so on.
Not only that, there’s a multitude of animation tools to select from, like Rive and Adobe After Effects.
Don’t get me wrong, you can do some cool animations in Rive and After Effects, but they’re pretty advanced (and pricey). I don’t know about you, but my brain goes blank trying to figure out After Effects — each time I open the app, I quickly close it.
But I recently tried Phase to create a few micro-animations, and I didn’t have my typical brain freeze when building the animations (as a side note, it’s also free!).

Phase’s interface kinda feels like Figma, so using its tools and navigating the site came naturally. Its tools are simplified so you don’t need a lot of practice or learn hidden tricks — just go in and start animating.
Build a micro-animation in Phase
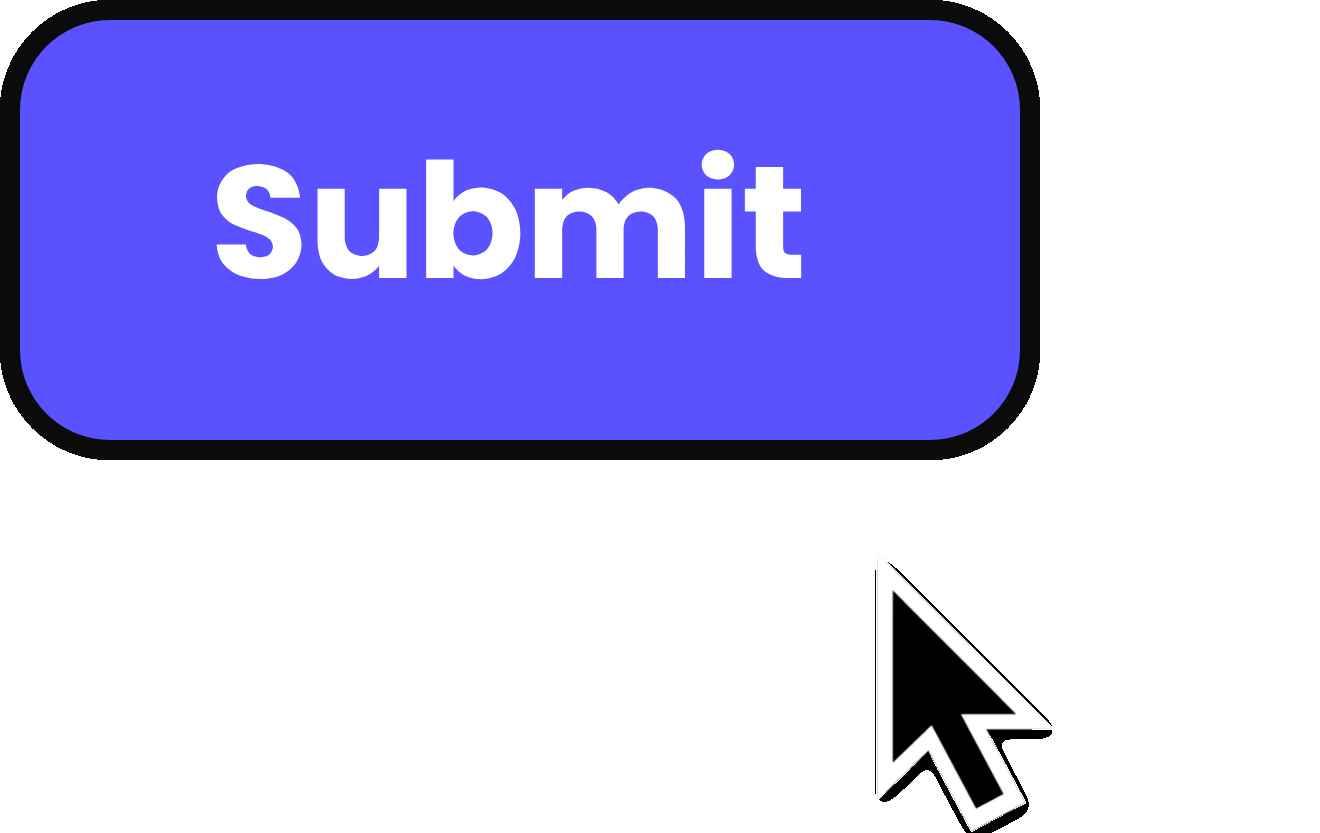
To get a better look at Phase, let’s go over the process to create a micro-animation in Phase by demoing the “Submit” button animation below.
Here are the main steps we’ll review:
1. Design in Figma (or natively in Phase)
First things first, you need to build your UI element. I don’t think I need to tell you how or where to design — do what’s best for you.
Before we get into animating with Phase, there are some best practices to keep in mind:
- Create text layers natively in Phase: If exporting from Figma, the text will import as vectors (you can only scale it), so create your text in Phase if you’ll need to manipulate it.
- Create simple shapes in Phase: If you’re only using simple shapes (circles or squares), create them in Phase so you have better control over properties, like scaling the radius.
- Name layers in Phase: I know, I know — this one is painful. But you need to name your layers in Phase to keep better track of the design (this is especially crucial when selecting a layer to animate).
- Use Phase’s version history: Animating is hard — if you make a big mistake that Command+Z can’t fix, the version history can save the day (Phase autosaves every 30 minutes as you work, but you can manually create versions in the version history).
2. Import designs to Phase
There’s multiple ways to import designs to Phase (from Figma, Illustrator, or whichever design tool you use), so choose whichever import strategy works best for your flow.
I. Use the Figma to Phase Export plugin
The Phase Export plugin helps bring design elements straight from your Figma file to a new file in Phase’s desktop site. This avoids having to download and upload files for a faster design flow.
Note: Using the plugin creates a new file in Phase, but you can simply copy/paste the layers from one Phase file to another.
How to steps:
- In Figma, search for the Phase Export plugin in the bottom toolbar
- Run the Phase Export plugin
- Select an element in the canvas → Select “Export to Phase” button
II. Import as SVG
If you use Illustrator or Sketch (or don’t use Figma plugins), you can download your designs from the tool as a SVG, then import into Phase without losing quality or layers.
How to steps:
- In your native tool, download the designs as SVG
- In a Phase file, open the hamburger menu
- Select “Insert SVG” → Select correct SVG file
III. Import as image (PNG or JPEG)
If you don’t need to manipulate specific properties like fill or borders, then you can import an element as an image into Phase using the same process as above (except select “Insert image” in the Phase menu).
3. Create the micro-animation
Now for the fun part — animating. Similar to Figma’s dev mode, you can toggle the “Animate mode” on and off (or use keyboard shortcut, “A”).
I’ll demo animating the “Submit” button (shown above) that transitions from its default, hover, and loading states.
I. Position all elements in their starting place
After importing all needed elements, you need to position each in their starting places for the beginning of the animation.
For the button animation, I have four main elements: a background for the button, a text layer, a loader symbol, and a mouse-pointer.
Note: Even though the loader symbol will be hidden at the start of the animation, I have it visible so I know its initial position is correct.
II. Toggle “Animate mode” on
When “Animate mode” is on, a timeline appears at the bottom of the interface which is used to manipulate the animation duration as well as create keyframes.
On the left of the timeline, you can change the total duration of the animation, and the current time the time-picker is on (or use the picker itself to move throughout the sequence).
Above the timeline, a small toolbar appears that you can toggle “Animate mode” off, play the animation, loop the animation, and change the playback speed.
III. Create keyframes
Ok, ok — now we really start to animate.
What I want to animate: The mouse-pointer hovers over the “Submit” button.
- Select the mouse-pointer → Go to the right properties panel → Keyframe its current XY position at 0s time-mark (Select the diamond that appears in the property’s text field)
- Move the time-picker to 0.3s time-mark → Drag the mouse-pointer to the new position (this will automatically create a new keyframe)
What I want to animate: The button transitions from its default to hover state.
- Move the time-picker to when the mouse pointer touches the button (about 0.15s) → Keyframe the button’s background current fill and border colors
- Move the time-picker to 0.3s → Swap the button background fill and border colors (from purple to black)
What I want to animate: The mouse pointer emulates a “click” so the button activates.
- Move the time-picker to 0.8s → Keyframe the mouse pointer’s XY scale (100%)
- Move the time-picker to 0.95s → Decrease the mouse pointer’s XY scale to 65%
- Move the time-picker to 1.1s → Increase the mouse pointer’s XY scale to 100%
What I want to animate: The button activates and shows the loader symbol.
- Keyframe the width of the button background (102px) when the mouse pointer’s scale is increasing (at 1.0s)
- Move the time-picker to 1.2s → Increase the button background to 130px (to fit the loader next to the text)*
- Move the time-picker to 1.0s → Keyframe the loader symbol’s opacity (0%)
- Move the time-picker to 1.2s → Increase the loader symbols opacity to 100%
*Note: You may also need to keyframe the layer’s XY position if you have unintended movement in the animation.
What I want to animate: The loader symbol rotates to indicate the request is processing.
- Move the time-picker to 1.0s → Keyframe the rotation of the “Active” layer of the loader (the purple section) at 0 degrees
- Move the time-picker to 3.0s → Increase the rotation to 450 degrees*
*Note: You may need to edit the layer’s origin so it rotates properly, shown in the next step.
Edit a layer’s origin:
- Move the time-picker to 0s → Select the element → Select “Edit origin” under “Transform” in the right properties panel
- Position the origin at the middle of the element (0,0) so it rotates about the center (the origin’s position depends on your animation needs)
What I want to animate: The button disappears (I.E., the webpage completed the submission).
- Move the time-picker to 2.7s → Select all layers → Keyframe the opacity (100%)
- Move the time-picker to 3.0s → Change the opacity to 0%
4. Export the animation
Once you’re happy with the animation, it’s time to export it (yay!). Phase allows you to export in 4 file types: Lottie (.json), dotLottie (.lottie), MP4, or GIF.
All you gotta do is select the bold, blue “Export” button at the top-right of the interface.
I recommend exporting the animation as a Lottie (.json) since it’s vector-based and scales the animation without losing quality. But if you need to export as GIF or MP4, duplicate the file and increase the animation size for exporting purposes (and hand-over the original file to developers).
5. Handoff to developers
You may not need to export and just need to hand-off the animation to developers so they can implement the animation (they need specs like timing, interpolation, etc.).
I. Share the file to collaborators
How to steps:
- Select “Share” at the top-right of the interface
- Invite collaborators by email → Change the file privileges to “Can view” or “Can edit”
- OR copy the collaboration link at the bottom of the modal to send directly (this will only work with existing file collaborators)
II. Use the inspect feature to view the animation’s specs
How to steps:
- In the animation file, select the “Inspect mode” toggle at the top-right of the interface (it looks like Figma’s dev mode toggle)
- Select preferred color value (HEX, RBG, etc.) and time unit (seconds or percents) in the “Inspect settings” (under the 3-dot menu in the top-right corner)
- Select a layer from the left layers panel
- Review each property specification on the right panel*
*Note: Each animation property tells you the initial value and the start and finish specs for time-marks, value, ease, and bezier. (This really helps close the gap by breaking down the animation for developers.)
That was a lot, but Phase makes creating animations and collaborating on files easy.
If you’ve wanted to dive into micro-animations, but tools like Rive or After Effects felt hard to learn (or expensive), Phase is a great tool to put in your animation toolbox. Its interface is comfortable, and it’s quick to get the hang of creating any kind of animation.
Let me know what you think of Phase in the comments!
Happy (micro)animating!

