Making a generative ML MODEL with Runway ML — Aimon
 For about 3 years now, I have been looking at what AI can do — as a Designer. Conceptually exploring what future possibilities are and how the progress of Machine Learning might influence products, systems and services. In that time, there has been amazing progress of the involvement of Designers in the Machine Learning era. Google, Microsoft, Ibm, etc. all have come up with publicly accessible resources. A most recent addition that I enjoyed especially for the section on AI Design element: https://linguafranca.standardnotation.ai . Or a collection of similar resources can be found at- UX ML List.
Also in that time, as Designers we have a million ideas for what that cool new technology could do. But when i first tried to get my hands dirty with some generative AI algorithms to play around, I was quickly stumped by the difficulties of setting everything up and understanding all the different components involved. I wanted to make my own dataset and train a new model on that. As a test. But yeah, I couldn’t quite get it to work the first times. Until today. Enter RunwayML.

What’s RunwayML? In their own words — it’s Machine Learning for creators. The NYC based company created a great piece of software that brings together some of the best Machine Learning algorithms for generative art and make them accessible by providing an easy to use interface and all-in-one solution. Install the .exe, choose an algorithm, and off you go creating stuff. Its that simple.
After having an idea -basically there are only two things you need to do in Runway — choose an algorithm and choose or bring a dataset.
- The algorithm/model — Basically this determines what will happen and what data you need. There are algorithms like Posenet(pose estimation), Yolo(object detection), or a range of generative algorithms from style transfer to transformer.
- The dataset — RunwayMl gives you the option to choose some of the publicly available datasets. Lot of them are vetted and clean datasets that can lead to amazing results with those algorithms.
If you are like me and already are not going to code your way out of it, then the dataset and basic idea is important. These kind of algorithms have obvious limitations and to combat that you can either train longer or use more and better data. For my first test I put together about 1000 pictures of arttoys, scraped mostly from tumblr with some online findable script. I sorted through that by hand to find those 1000 that seemed relatively usable. 1 figure in the picture and as clean a background as possible- ideally one color/white. I put that dataset together within a couple of hours of scraping and manually trying to sift through — as you can see, there are certainly still pics that better should be weeded out.

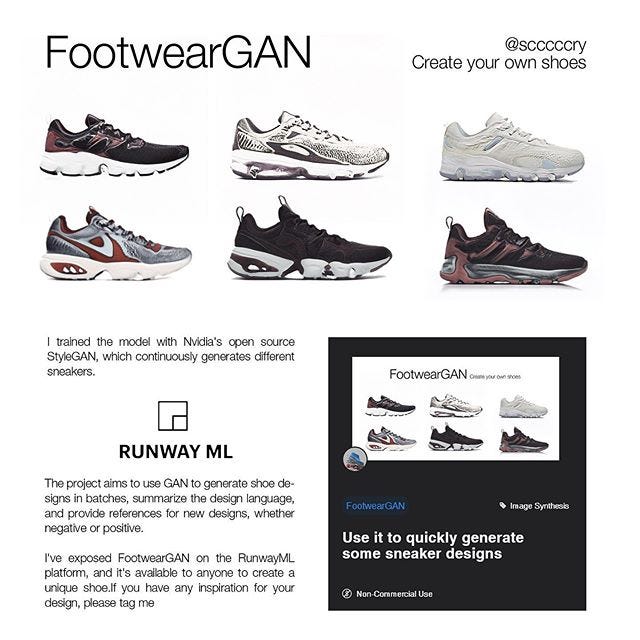
I then chose one of the generative algorithms — in my case i went with StyleGan, since it seemed like some of the other available projects were similar and yielded great results, like
While in the past, you would have spent some more time to get every image in the right size, and make sure it all feeds nicely into the system, Runway takes care of that too, cropping images and everything. Btw.- instagram style square pics are used, mostly with a center automatic crop.
All systems go — after uploading your images to Runways server farm, you can basically choose to train from scratch or use transfer learning — in my case that meant to use a model that has already been trained to generate faces and would now be retrained on my arttoy dataset. Which leads to this nice creepy conversion of faces into … something.
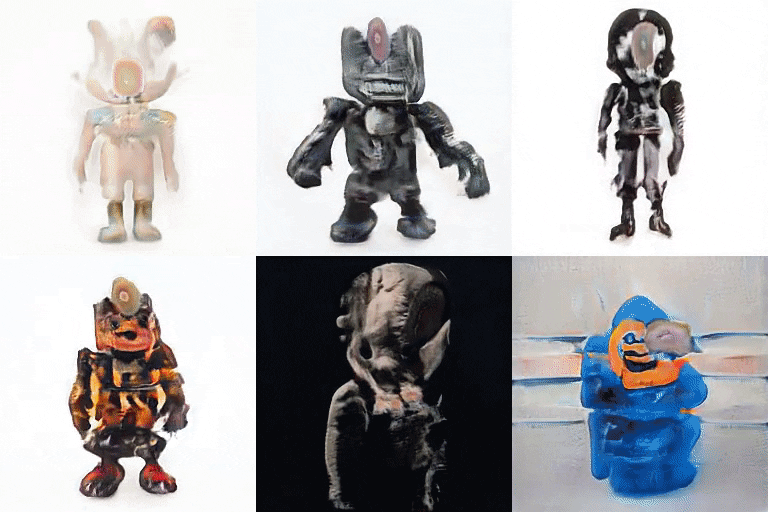
The first iteration was for about 3 hours of training or 3000 steps. This led to results that looked like this:


There is something interesting about them and vaguely humanoid shapes are visible, but it’s rough. Interestingly I ended up with pretty high resolution images — 1024x1024. In the next iterations, for some reasons they went to be 256x256 only. And I was a bit confused why that happened. For now I think that was because I switched to a different transfer-learning root model.
So yeah, after the first iteration I tried to add more images. The dataset went from 1364 files to 1905. But it was already late at night so I just threw those images in their and started training. I did let it run now for 12000 steps. which supposedly took around 7 more hours. In this second iteration I also explored using a different transfer learning model. As it seemed that it takes quite some time for the model to unlearn the older data, I chose one that was trained on dogs, thinking these would be conceptually closer to arttoys.
I think it worked alright, with the funny result that cat and dog like faces seem to be around in abundance now.




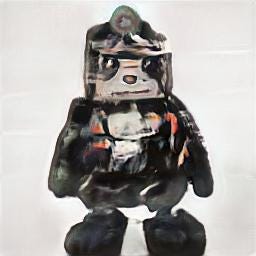


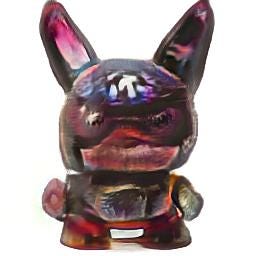

After waking up and seeing those results I was already pretty happy but wanted to take a last attempt after cleaning up the dataset a bit. I took out the worst pictures which either did’t actually show toys or were too murky to be helpful and let it run once more for 3000 steps — And this time i started from the model I made in v2. Not sure if thats technical correct but basically I added 3000 extra steps with a cleaner dataset on the 12000 steps before.


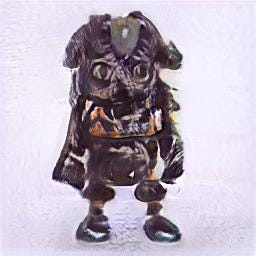
This is it, less than 24 hours from just having a look at RunwayML to having 3 iterations of a model with some explorations. Pretty happy with it and definitely grateful for tools like it to find its way to creators, designers, artists plus the amazing community that is responsible for sharing those algorithms openly in the first place.
On Runway itself, it takes a bit of clicking around. The whole way it’s structured is quite a bit different from what we might be used to but the interface is sleek and more or less well done. Sometimes a bit too slick maybe. Some mouse-over context info for certain parameters would be nice for the uninitiated and while the latent space exploration is awesome, it also could be easier to browse and save. The amount of possibilities are amazing but frustratingly hard to find something purposefully. And right now it seems to reset to 0 when you leave the page?
In addition, it’s not a cheap thing to play around. The first test is for free, but my second iteration ran at about 50usd. Not cheap. Not sure how it compares to other services in terms of computing cost. This is on top of a monthly subscription fee too.
Plus, it’s not as transparent as could be. After the first free test, it told me that I needed to add some “credits”- meaning money to my account. It even told me exactly how much is expected for that length of training. The third time, I expected a little warning about the cost and influence on my balance, but it just started straight away. I guess we are used to eCommerce kind of check out where you expect a final confirmation when you are paying for something.
There are two kinds of cost — 0.005usd per training step and 0.05usd per minute to run a model. Now that second one is where I cant really figure out what is counted and what not. As also there doesnt seem to be a tracking of credit expenses available yet. It seems like the model is only showing me results when I actually am on the page, and scroll around. But in the lower bar it keeps on showing “1 model running” also when I leave it. And the annoying part is that when I leave and come back to that page, it seems to have deleted the cache? Which I supposedly paid for before? I am gonna do some googling now if I am maybe misunderstanding something here. If you know the answer, let me know.
As others have pointed out, RunwayML is currently in Beta. Things keep on changing, so I am sure there will be lots of improvement to this points as well. Overall I was super happy by how smoothly it worked and how it enabled me to get something going in no-time.

