Usability testing: what is it and how to do it?
Usability testing is the most common technique to check how usable your interface is from the human center design framework. The power of this qualitative technique is that it focus on what the user do and not what the user say.
The objectives of this technique are:
- Gain insights from our users
- See if we meet user’s expectations
- Check if the design is matching business decision to real world use
- Check if the user can perform the tasks we proposed
- Find out if we’re on the right track
- Get user reactions and feedback
Usability testing reduces the risk of building the wrong thing. It saves money, time and other precious resources. It finds problems when they are still easy and cheap to fix.
When a designer is working on some assignment, he’s so close to the solution that it that you may not realize that something could be improved by testing the proposed solution with real users.
The usability testing is an iterative process, it’s not one time blessing, you need to repeat the process until the design is not confusing anymore and your users are able to achieve the scenarios you propose.
4 steps to perform usability testing

Step 1. Create a test plan
Creating the test plan is the initial activity you need to perform to do a good usability testing. These following tasks are the ones you need to do before facilitating a test session.
1. Define scope of work
You need to decide the areas that you want to test. Try to think big, list all out and then refine. You should have no more than 12 tasks to test.
2. Recruit users
Recruiting users is a key activity of this initial step. Recruiting can be performed according to their demographics (age, where they live, etc.) or psychographics (cognitive background: if they’re used to perform the proposed scenarios). Ideally you will recruit considering both aspects but take into account that with psychographics you can get you more relevant insights about the usage and adoption of your solution.
ok, but how many user should I recruit?
Answer 1 = 5 users per segment (user persona) — Jakob Nielsen, 1993
Answer 2 = 15 users — Laurie Faulker, 2004)
If you want to understand how users behave and gather quick insights then 5 users per segments should be ok. Also if you’re working following in Lean UX, 5 users per segment should be enough.
3. Identify objectives
Identify what you want to accomplish with this test, what you are looking for, what you want to demonstrate to your stakeholders.
4. Establish metrics
Metrics give you a common fact-based description of user/task performance upon which to make informed design decisions, they are important because:
- Make usability recommendations concrete, influence and change opinion
- Ground teams in reality
- Help iterate and validate design concepts
- Provide objectivity to design debates
- Guide fact-based design decisions
ok but what kind of metric I would need to consider?
Time on a task, task performance, success rate, speed, goal fulfillment, expectation matching are the most common ones but there are many more it will depend on the nature of your project if you select one or another one.
Step 2. Facilitate the test
Being a good facilitator takes time but these are some ideas that could help you to be a good facilitator:
- Ask your users to externalize thoughts and feelings when interacting with the solution
- Keep test environment as realistic as possible, don’t try to minimize distractions.
- Takes notes (structured or unstructured)
- Record the session
- Do not lead the user
- Do not jump into any conclusions during the session
- Last but not least remember that it’s not about what we think of what’s a good user experience it’s about how the user perceives the solution so keep your mouth shut, relax and listen.
In the test we’re looking for:
- Quantitative information such as time on tasks, success and failure rates, effort (#clicks, perception of progress)
- Qualitative information such as stress responses, subjective satisfaction, perceived effort or difficulty
ok but what kind of prototype should I test?
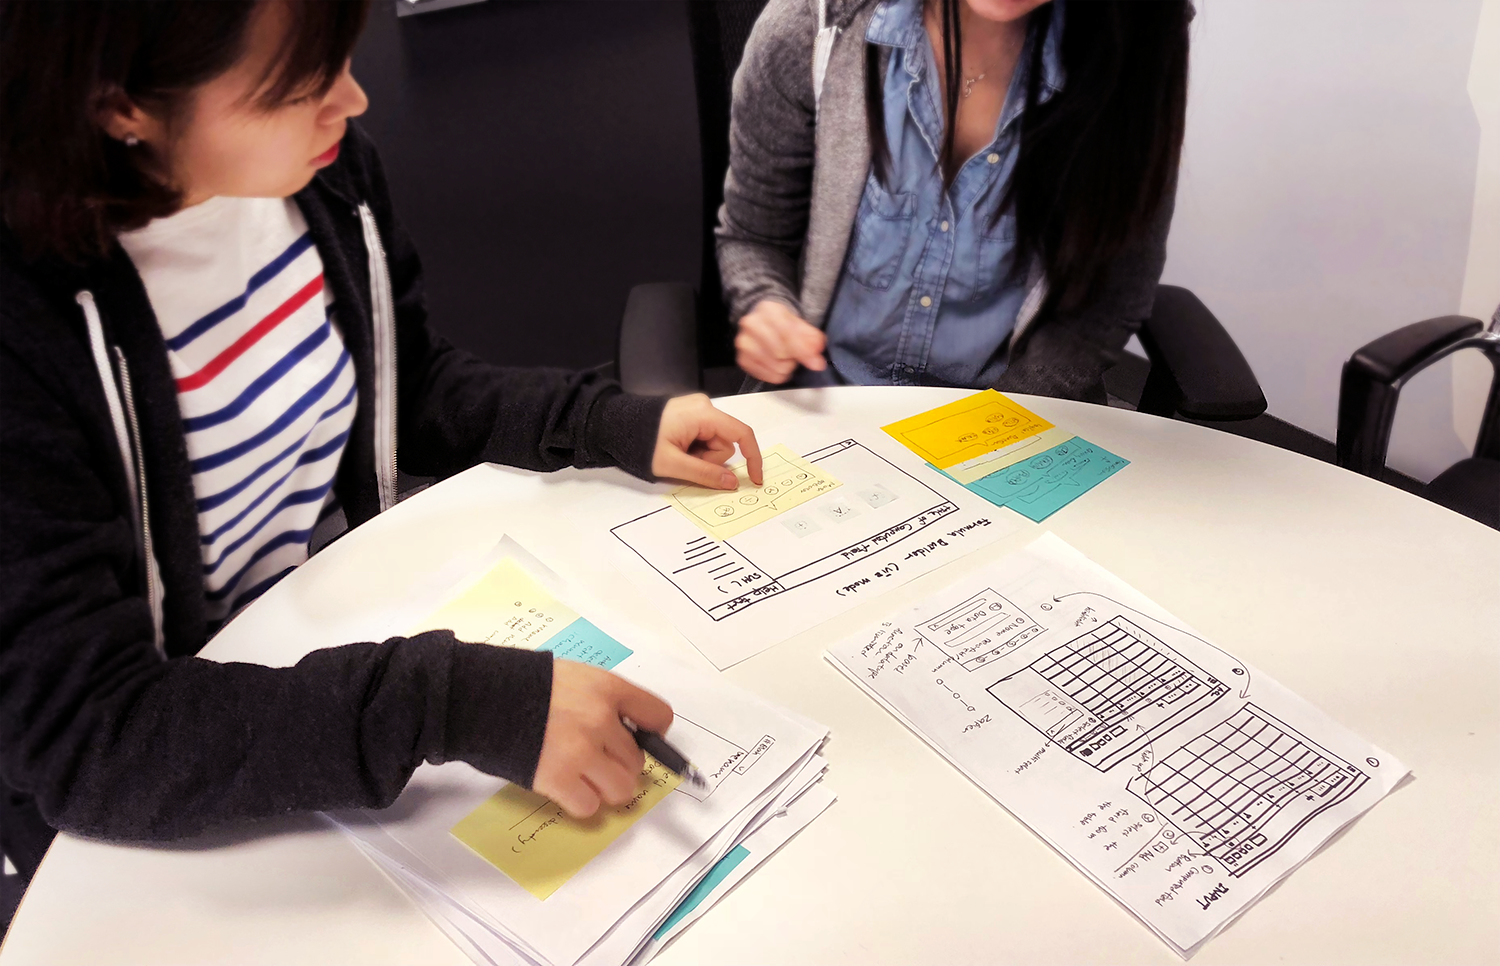
It could be lo-fi wireframes as well as hi-fi wireframes it doesn’t really matter. In fact it will depend on the objective you define to be tested. I would personally recommend as early as possible so a lo/mid-fi wireframe should provide good feedback to your project.
Step 3. Analyze case data
Once you’re done with all your testing sessions it’s time to sit, analyse the information and jump into conclusions. There’s no common rule to do this but when you have all the information in place you need to look for the trends that emerge, make notes of the possible problems and the potential solutions.
Step 4. Create test report
A test report should be created each and every time you perform a usability testing and must be stored with any other testing documentation of your product. It should include at least the following sections:
- Background summary: Brief summary of what you tested, the testing team, the material that was utilized and a brief description of all your findings, the goal of the session.
- Methodology: explain how the sessions were done, the tasks or scenarios that were tested, the metrics you selected and a brief description of each segment of users.
- Test results: summarize all the results from the metrics you have chosen. Our old friend Ms Excel can be really useful to summarize all the information.
- Findings and recommendations: List all your findings (positives and negatives). Positive findings will help the team to know that they’re on the right track, for negative finding provide proposals to solve them.
Remember: usability testing it’s not to prove yourself that you make the right decisions but to learn how your users perceive and use your product. It’s cheap, saves development time and what’s most important it saves money.