How to get started with hand-drawn animation — Part III
A day in the animated life
I began writing this series to help other artists and designers who are interested in exploring hand-drawn animation. When I set out to illustrate simple, short animations for fun, it was tough finding resources geared toward beginners like me. This series is a way for me to share what I’m learning as I go. I hope it’s useful for fledgling animators in particular, while illustrating broad applicability in the fields of art and design to amateurs of varying skill levels.
Recap
Last year I documented my experience of drawing and animating micro-shorts for 100 days on the iPad. I followed up with Part II on process and inspiration.
In Part 3
In this installation, I focus on desktop tools and investing in animation as a practice for the long haul. I’ve been spending a lot of time vetting and experimenting so that I can decide on a workflow that feels right for the kind of work I want to do. I’m finally settling into a rhythm and think it’s time I share what I’ve learned.
Think of this series as a jumping off point rather than as an in-depth treatise or a bunch of prescriptions. By the time you finish reading, initial decision-making around hardware and software should be easier, and I hope it saves folks time, money, and sets solid expectations while still encouraging independent research and experimentation.
- Wacom Cintiq Pro
Is it worth the cost and headache? Do you really need it to work with desktop animation apps? - Peripherals
Optimizing your hardware setup and boosting productivity - Toon Boom Harmony
Looking at one of the desktop animation heavyweights and why it’s not for me - AnimDessin
A surprisingly robust plug-in for Photoshop that turns it into a decent animation tool - TVPaint
Another popular desktop animation application. Not perfect but the right choice for me right now. - Key takeaways
A summary of insights and a few process nuggets
1. Wacom Cintiq Pro
I invested in a Cintiq Pro (24) touch for my home studio late last year so that I could work with desktop animation tools like Toon Boom Harmony.

Wacom provides a version without touch too and after several months of trying things out, I kind of wish I hadn’t shelled out the extra $500 because I almost never use the touch feature.
I’ve an older Macbook Pro sans USB-C port, so I run the Cintiq via USB and HDMI instead. Perhaps this contributes to glitches, but the MBP often doesn’t recognize the tablet until I repeatedly cycle power. Wacom finally informed me that when cables are disconnected without powering everything down first, the driver crashes. This will also apparently result in “problems in your operating system installation.”
I’ve used an Intuos for many years without driver issues, so was surprised by this. To deal with the inconvenience I began to restart the driver manually, but with continuing security and privacy changes on the Mac operating system, your mileage may vary.
Also, don’t get your hopes up about 4K resolution. I achieved it with a 4K ready cable + SwitchresX’s custom resolution setting, and only at 27hz, which is obviously not practical. I decided that 2K more than suffices for my workflow so this all became irrelevant. I’d venture to guess that it’s probably overkill (and possibly undesirable) for what you need and how you work, too.
All said and done, does the Wacom Cintiq Pro live up to the hype and do you really need it to do your best animation and illustration work? I’m split on the matter. Drawing and animating on it can be a joy: I’ve rarely experienced lag, and the 8,000+ levels of pressure-sensitivity and tilt recognition allow for some high-precision brush strokes and texture variation.


It does take a lot of work (and some extra equipment; see the next section) to get it set up and humming. It’s also financially inaccessible to many artists. Wacom is a bit of a shit-show all around too, and were there viable alternatives, I’d prefer to spend my money and time elsewhere. Unfortunately Wacom is the solution that best fits into my practice at the moment.
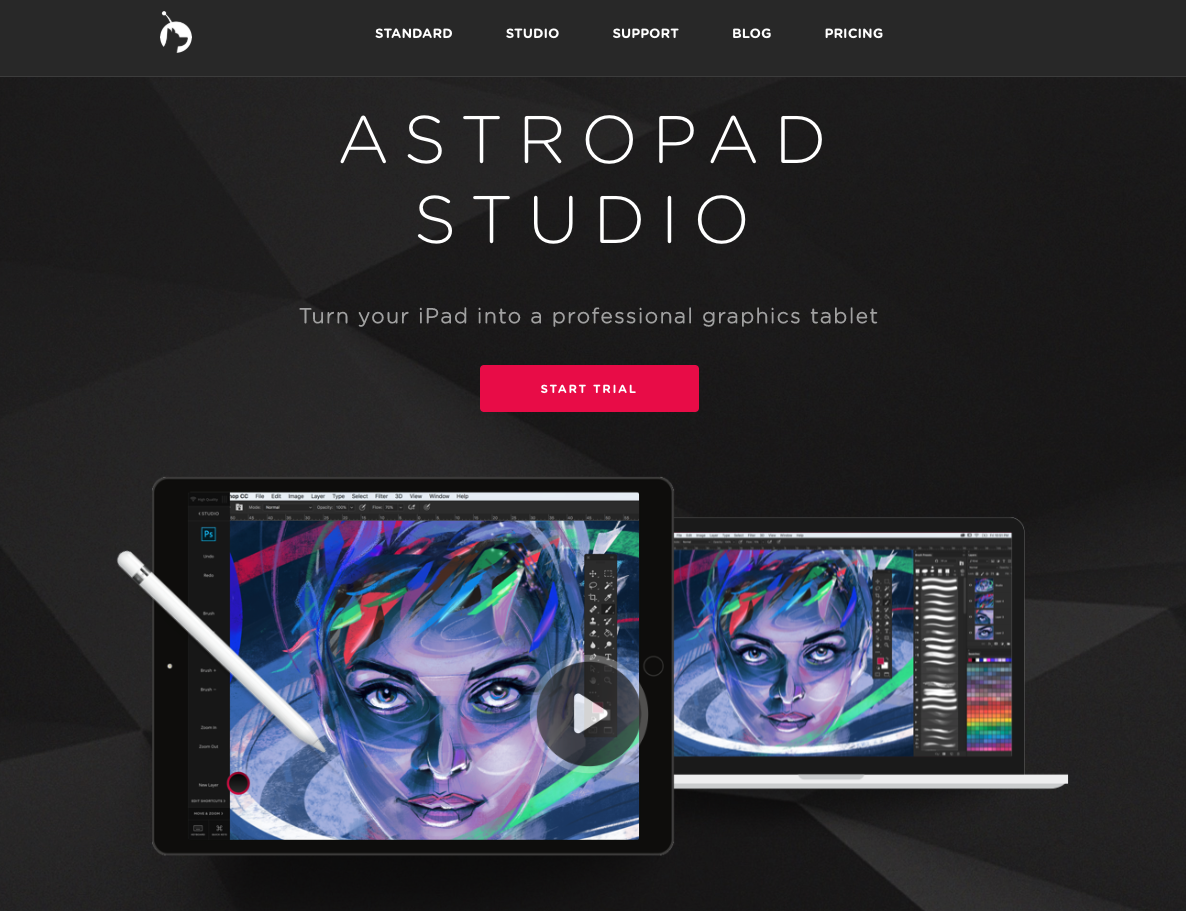
I belatedly saw folks get around the painful expense—and having to deal with Wacom—via an app called Astropad ($80/year, free trial) which turns your iPad into a graphics tablet for your Mac. I played around for a bit and initial interactions with it seem promising. It’ll come in handy when I travel. Give it a try before sinking money into a Cintiq if you’re hesitant.
2. Peripherals
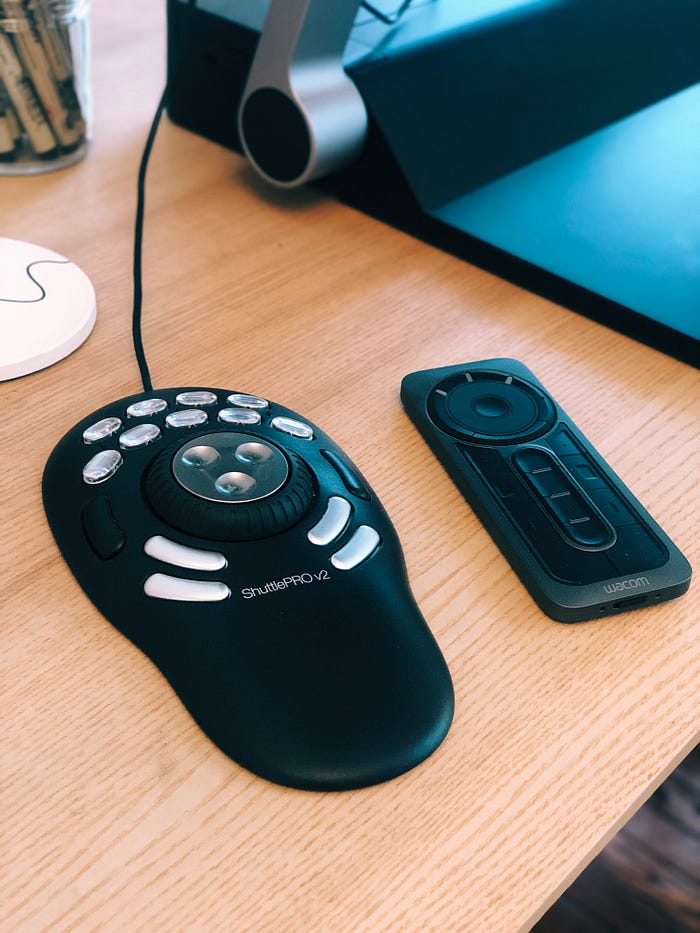
When animating, you need a way to quickly scrub timelines and flip between drawings without having to rely too much on the keyboard, which can be awkward when working with a large drawing tablet. If you do go down the way of integrating the Cintiq into your animation practice, I’d also invest in something like the Contour Shuttle Pro to boost productivity.
The EK remote that comes with the Cintiq to provide quick access to keyboard shortcuts isn’t particularly reliable. It gets confused with Adobe CC’s versioning, for one, and can cause hours of frustration when there’s an update and you end up losing painstakingly organized app-specific shortcuts. I use it to launch on-screen controls and then put it away.
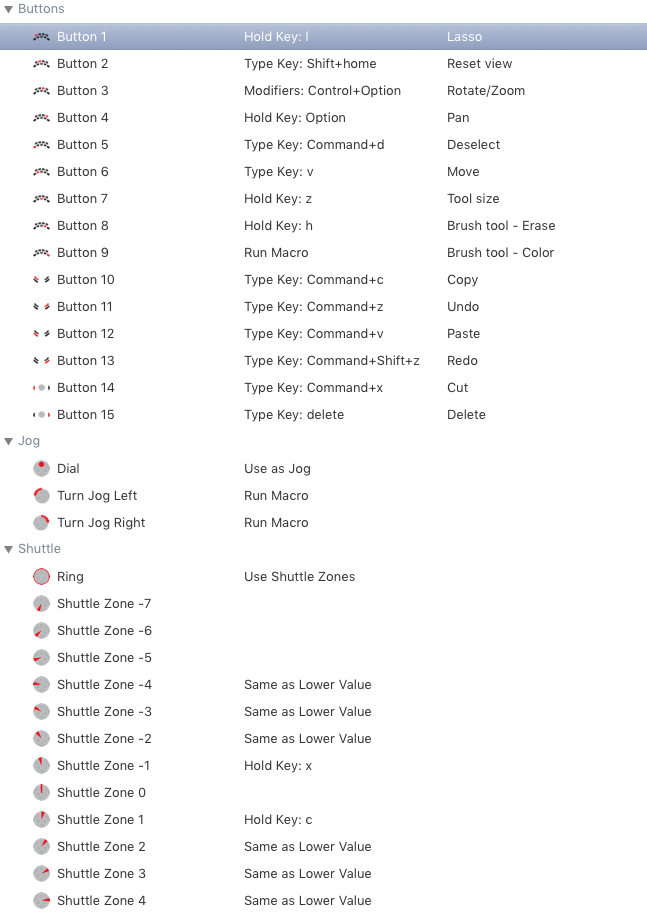
This is where the Shuttle comes in. It’s an old school peripheral that’s long been used for audio and video editing workflows. It’s not as sexy as the remote: it’s large, wired (into one of the Cintiq’s four USB ports), and has fewer programmable options. But it’s ergonomic and behaves predictably. Here’s a quick run-down by a third party that will give you a good idea of what it looks like and how it works.
If it’s NOT working properly, make sure that you’ve the latest drivers and app-specific custom settings installed.
These are my settings for TVPaint 11, which I discuss later. Exporting settings has failed me on more than one occasion so I take screen captures to document them just in case. For Photoshop I use pretty much the same setup with a few necessary deviations, which reinforces muscle memory. The jog dial and shuttle wheel have been the biggest sell for me because they make zooming, flipping between frames, and timeline-scrubbing much easier and more ergonomic:
Lastly, I will say that the ergo stand for the Cintiq Pro 24 is a marvel and definitely worth its price. It’s well-designed, right down to cable management, weight-distribution, and swivel capability. It will also allow you to work standing up, which is a godsend for long days. If you have a multi-use desktop, it’s easy to tilt the tablet’s face up and away to make room for other tools and activities.


3. Toon Boom Harmony
OK, now that we’ve discussed hardware setup in some detail, let’s move onto desktop animation software. As previously mentioned, I wanted to explore desktop tools because they’re better suited for more involved (e.g., longer than 10 second micro-short) animation projects.

So, I dabbled around with Toon Boom Harmony for a few months. It’s expensive but they provide a full-featured trial and timely customer service. It’s a powerful tool that can speed up your process significantly depending on your style and the type of animation you’re doing. For instance, you can modify and color entire sequences simultaneously and use “art layers” (basically layers within layers) for higher-level granularity in editing your drawings. But it’s also overly complicated and not very user-friendly.
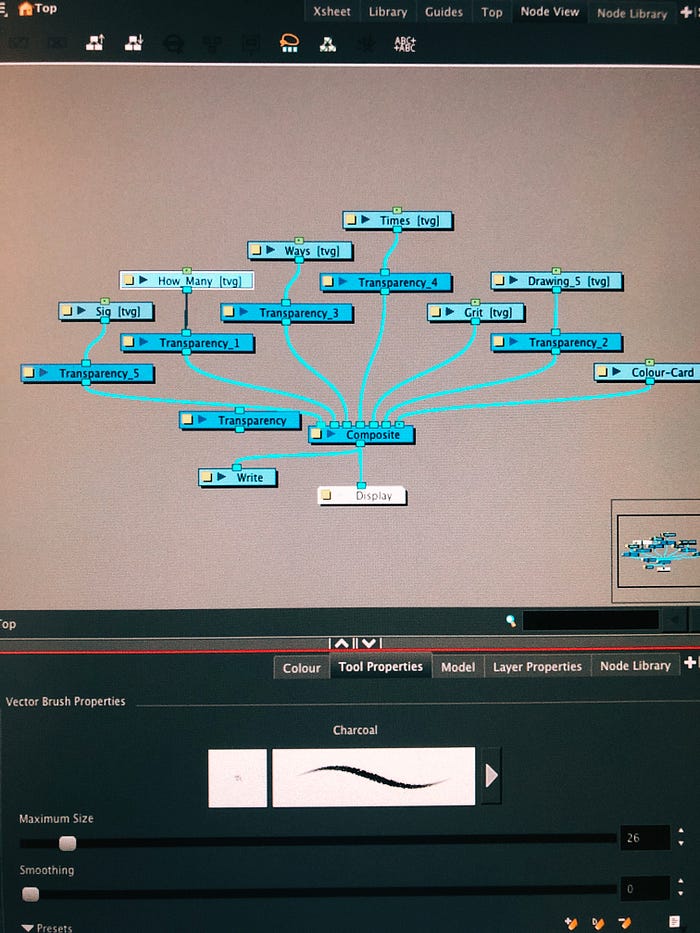
An example of a line-morphing animation I created using TBH:
Working with sound is easier and less buggy in TBH than with tools I’ve used on the iPad. Being able to scrub through audio during the editing process is nice, though for final production I usually move over to Premiere Pro:
Playing around with color and texture, in addition to sound:
If you’re into rigging and cutout animation, TBH may be for you. I enjoyed this video guide, which is a clear and easy-to-follow primer on using the product. Check it out for an overview of Toon Boom Harmony’s capabilities.
I myself decided to move on though, because:
- TBH is simply too expensive (even if you pay the hefty fee for a lifetime license, you still have to pay annually for support, and all upgrades, which aren’t cheap).
- TBH is overkill for the kind of animation I’m interested in, which is frame-by-frame. I don’t really need pegs, rigs, and tweening. I prefer to draw everything myself rather than have an algorithm move things for me.
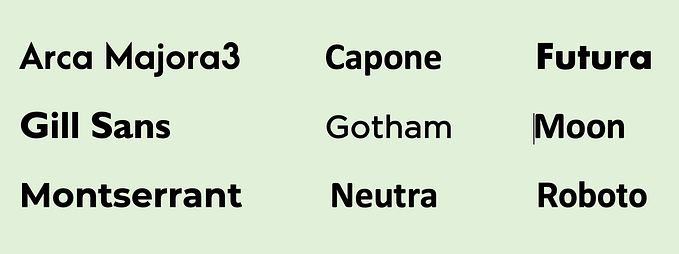
- The aesthetics of the line is important for me, and I found TBH’s crude (though better than Flash, AKA Adobe Animate) brushes unpleasant to look at and work with. In general, brush quality has probably become one of the most important factors in deciding whether I’ll be using a tool or not.
4. AnimDessin
It’s a shame that no publicly-available tool (either on iPad or desktop) provides both a sophisticated brush engine and robust animation features. AnimDessin, a plug-in for Photoshop, gets us at least partly there, for simple, shorter animation projects.
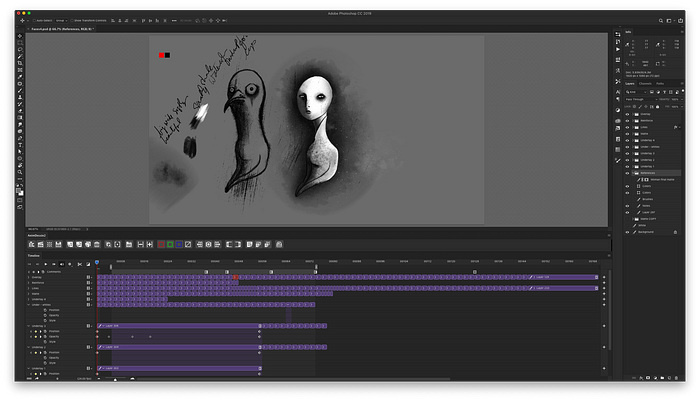
For a plug-in it’s surprisingly full-featured. For example, there are colorized onion-skins and the ability to add notes to the timeline. The only real annoyance is working with multi-layer drawings (frames), because how you see frames organized in the timeline doesn’t translate intuitively to how layers are organized in the layer palette.
For instance, it’s common for illustrators to build texture on a base drawing via multiple layers. But when using AnimDessin, adding a layer in the same video group would add a new drawing (a new frame) instead. You can add multiple layers to visually affect your current view, but it’s a disjointed and unintuitive experience (you have to create a new video group for each layer). This is largely a limitation of the app, not AnimDessin, but since Photoshop isn’t designed for animation, one can’t exactly complain.
In sum: AnimDessin is likely not the best option for more involved animations. For simpler, shorter projects though, it’s a great way to make use of Photoshops beautiful brushes in your animation.
5. TV Paint
I started exploring TV Paint only a few months ago, and while it’s been a bumpy road, it suits my animation style (illustration-heavy, experimental, frame-by-frame) best out of all the tools I’ve tried out so far. It’s also expensive and though minor updates are free, you still have to pay for the major ones.
The brush library is nowhere near Photoshop’s in terms of size or sophistication, but it’s worlds better than the brushes you’d find in Toon Boom Harmony or Flash (Animation CC, which I won’t discuss here though it’s surprisingly popular with the pros). TV Paint is also less about the tech, and more about the art. You don’t deal with nodes and numbers as much as you might in other animation tools, and how well you draw comes more into play.
Someone else on what makes TV Paint different from peer tools:
First though, a little beef:
- You need a USB dongle plugged into your machine in order to use your license. They FedEx it to you within a few days of your purchase, but it’s still a pain. Thankfully, I hear they’re getting rid of this requirement in the coming months.
- They don’t provide a full-fledged trial (no exports allowed), which pretty much means that you can’t try it out for real. However, the employee I corresponded with tells me that one can request a refund within 14 days of purchase.
- TV Paint is a French animation app, and while it’s available with English UI, it’s not well-localized. Documentation—and truthfully, the user experience—is a mess. They’ve communicated that the web and app UI and experiences are all in the process of being overhauled, which is great news.
Some of these complaints are aired by another user I came across during my research, though she still seems a fan:
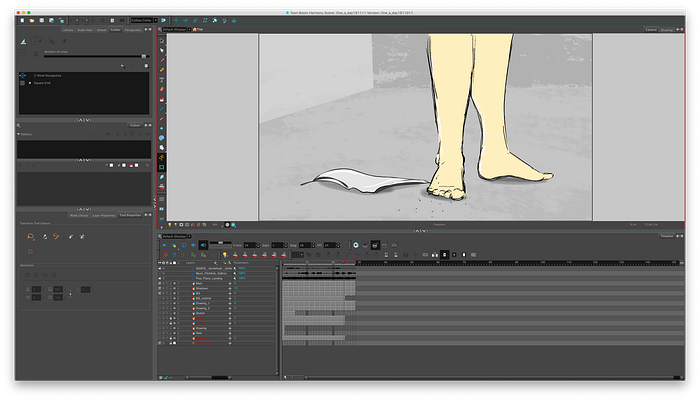
Why I’m using it:
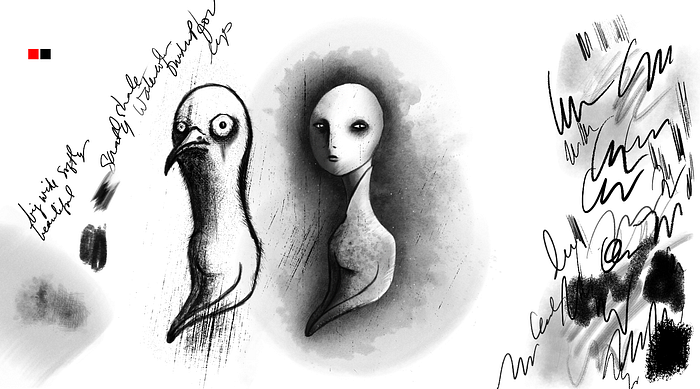
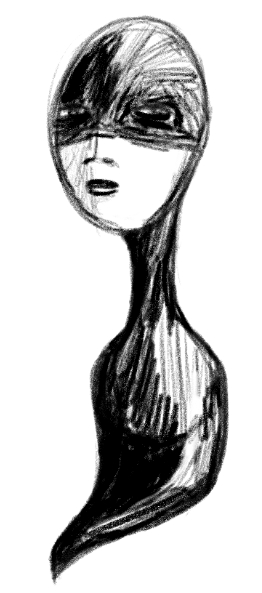
TVP is optimized for traditional frame-by-frame animation for folks who like to draw. It allows for painterly effects, and the brush is a relative pleasure to use. It feels much more like you’re drawing, or painting, on paper. There’s no way that you can draw something with lines like this in Flash/Animate CC:
Their storyboarding and animatic flows are relatively intuitive too, and using their camera is straightforward and a lot less intimidating than using the camera in Toon Boom Harmony (TBH).
There’s a great overview and quick-start tutorial by Aaron Blaise, a veteran in the traditional animation industry (Disney background):
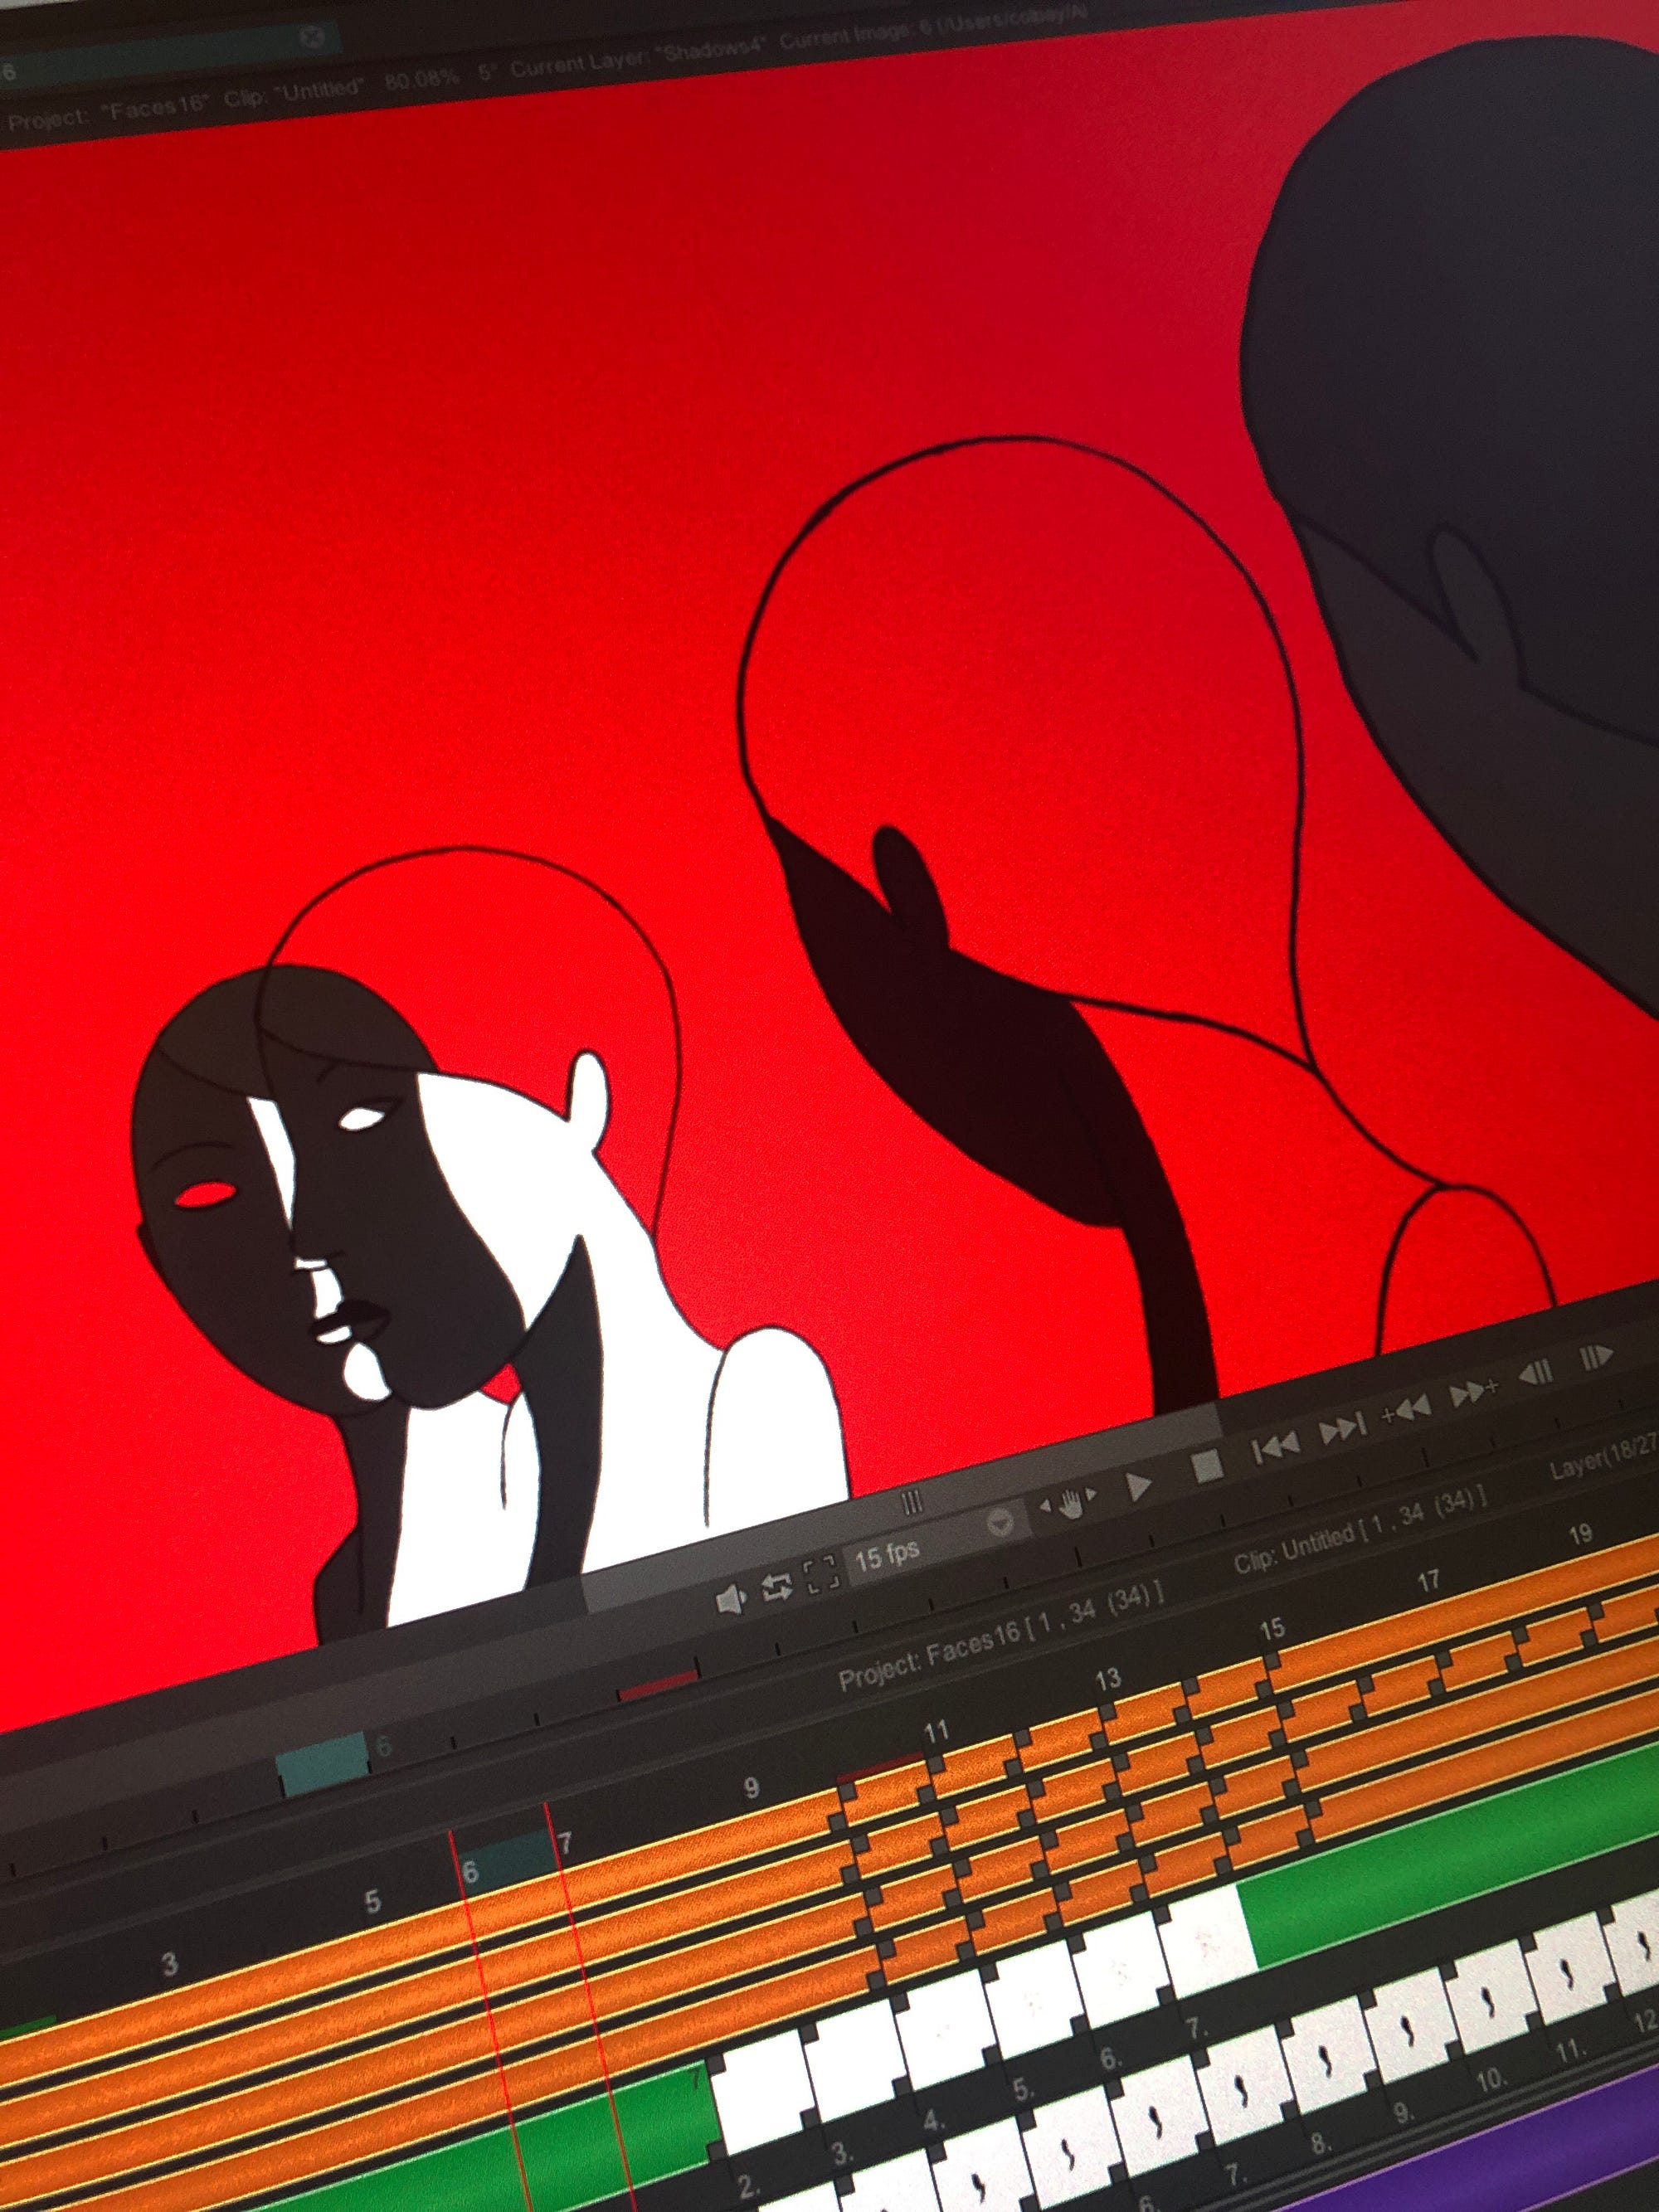
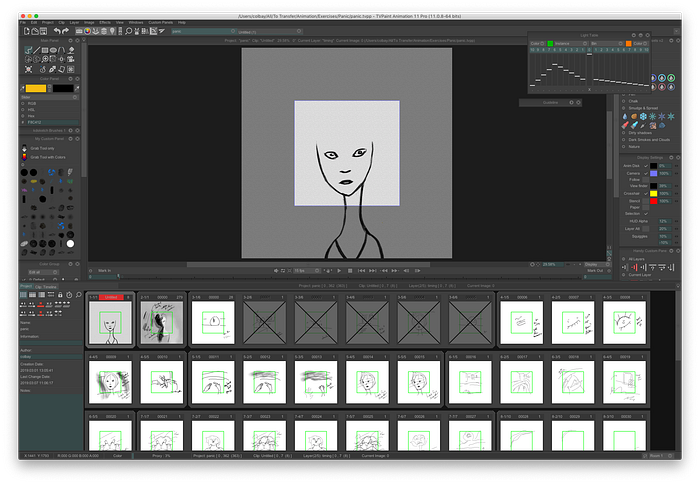
A sample of an animation I recently did in TV Paint:
6. Key takeaways
We covered a lot, from hardware set up to choosing the right desktop animation software to invest in. I’ll end here with a summary of insights, recommendations, and a few nuggets around process.
- You may be able to get away with not owning a Cintiq even if you want to use desktop animation apps. Try out Astropad, which turns your iPad into a drawing tablet. This makes your workflow much more consistent and portable, as well.
- If you do invest in a Cintiq, it might be worth your while to also invest in the ergo stand and the Contour Shuttle Pro for ergonomic and productivity reasons.
- I’m struck by all the different ways artists animate! This guy made his animated short using Animatic. Many pros— even traditional frame-by-frame animators—still use Flash. Some start on paper and finish in After Effects. Some work primarily in Photoshop, which I personally couldn’t even begin to imagine doing exclusively, but my feeling is that once people get used to a flow, they tend to stick to it. We’re inertial creatures, after all. Experiment and do what works best for you, basically.
- There are a lot of tools out there, and they’re all geared toward different styles and needs. If you’re into hand-drawing everything like me, and place a lot of value on the feel of the brush, then I would say that TV Paint is more your jam than Toon Boom Harmony or Flash.
- Your eyes may bother you when using the Cintiq for extended periods of time because you’re sitting a lot closer to the screen than you would with a traditional monitor. Ease eye strain by keeping Night Shift on constantly when you don’t need to focus on color, wear blue-light filtering glasses (this is what I use), and install a break reminder like Time Out to do the 20/20/20 exercise (look away at something 20 feet away for 20 seconds every 20 minutes).
- I didn’t talk much about actual drawing and technique in this article (maybe a different writeup) but one big thing I’ve learned in recent months is how important key frames are (instead of fussing over tens of poorly planned incremental frames, try to articulate cleanly in as few frames as possible—7 is a good number). Deconstruct animated gifs to marvel at the skill exhibited by some artists in doing this.
- Over-reliance on onion skins will result in unnatural movement. Flip back and forth between frames instead when drawing key frames and major breakdowns, leaving onion skinning for tight in-betweens only. This animation is done in Flash but the concepts apply to any tool, and it’s a good example of using onion skins conservatively.
- Timing charts can be useful, though I do better by feel versus by math (I also tend toward the experimental versus traditional character design and movement). Still, you should study them and make sure you can understand how they work, because every now and again I find that it’s helpful—and more efficient—to sketch out the timing before drawing. Plus, if you ever need to collaborate on a project with other animators, you’ll need to know how to read these charts.
You just read Part III of the “How to get started with Hand-Drawn Animation” series.
Previously, How to get started with hand-drawn animation — Part I covered how I dove in, began working with sound, primarily working on the iPad Pro.
In How to get started with hand-drawn animation — Part II I talked about process, format, inspiration, and share some technical notes.
For even more content like this, feel free to sign up for my biweekly newsletter on the day to day of being an artist.
Have fun animating! You can find my illustrations and animations on instagram.com/colbay or vimeo.com/colbay.